
|
Do it yourself
| |||
| ||||


Maintenance of the Mercedes A-Class 722.6 Automatic Transmission
Model: Mercedes Classe A
W176
- Years 2012-2018
This video discusses the technical issues of the Mercedes 722.6 automatic transmission, used in many Mercedes models from the '90s and 2000s, which tends to overheat and deteriorate the transmission fluid if not replaced regularly. Symptoms include harsh shifting, delays in gear engagement, and unusual noises. In this case, it is necessary to replace the transmission oil (more accurately called 'fluid'), using only the specific Mercedes ATF134FE fluid. The quantity depends on the model but is around seven quarts. The transmission filter is located inside the lower panel, and to replace it, the pan must be removed, which has a gasket that should often be replaced to prevent leaks. There is a magnet in the pan that collects metal debris; this should also be cleaned thoroughly. Maintenance should be performed between 37,000 and 50,000 miles and is an operation that should not be neglected, using the fluid recommended by the manufacturer.
Posted on 18 February 2026 by ScegliAuto
Video tutorial
Related tutorials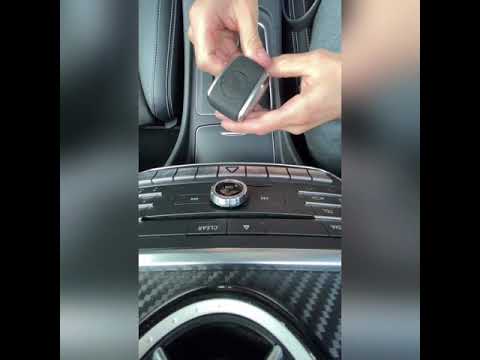
Mercedes Classe A
(2012-2018 /
W176)
In this guide, learn how to remove and replace the shift knob on the automatic transmission of the Mercedes A-Class. First, get inside the vehicle an…

Mercedes Classe A
(1997-2004 /
W168)
In this video, we are shown a fairly common fault on the automatic gearbox of the Mercedes A-Class W168: when we turn on the car's instrument panel, …

Mercedes Classe A
(2018-2026 /
W177)
The procedure to reset the automatic transmission on the Mercedes Classe A can be done by turning on the instrument panel, inserting the appropriate …
Other guides you may be interested in
|
How to change the time on a Toyota Yaris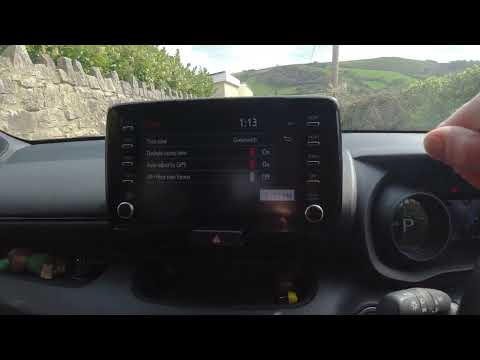
In this video we see how to change the time on a Toyota Yaris, specifically when it comes to switching from daylight saving time to standard time and vice versa. We go to the multifunction screen and press "settings": from there we go to press the clock, simply click on daylight saving time, and the clock will change the time for us, without doing anything else. All we want to do is just adjust the time format to 12 or 24 hours, as is customary in the area where we live: for example in Anglo-Saxon countries it is common to set the time to 12 hours, while in the European Union it is normally set to 24 hours. by ScegliAuto More videos
|

|
For advertising on this site Write to info@scegliauto.com
ScegliAuto is not responsible for any inaccuracy of the data in the lists. To report any inaccuracy or your business (if you own the business in question), please write to info@scegliauto.com
Number of seconds to generate the page: 0.120
(c) ScegliAuto 2026 - info@scegliauto.com - Privacy policy VAT number: IT01247470535 |
