
|
Do it yourself
| |||
| ||||



How to Replace the Glow Plugs on the Mercedes Benz A-Class W176 Engine
Model: Mercedes Classe A
W176
- Years:
2012, 2013, 2014, 2015, 2016, 2017, 2018
Video tutorial
This guide shows how to replace the glow plugs on the Mercedes Benz A-Class W176 engine. First, secure the vehicle and access the engine compartment; then disconnect the air intake hose from the engine using the bolts and the retaining clip. Using a Torx T30 screwdriver, remove the screws securing the engine cover; detach the metal clips and the two bolts of the oil cap. Remove the cover to access the glow plug connectors. Disconnect the electrical connectors, being careful not to damage the wires. Using a 10 mm wrench, unscrew the glow plugs. With a magnet or a long, thin needle-nose pliers, extract the removed elements. Install the new glow plugs and tighten them in place. Reconnect the electrical connectors and reassemble the removed parts in reverse order. Check the proper operation of the engine.
Updated on 26 May 2026 by ScegliAuto
Related tutorials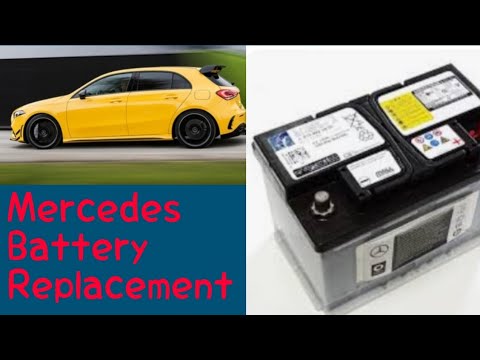
Mercedes Classe A
(2012-2018 /
W176)
This guide shows how to replace the battery on the Mercedes Benz A-Class A200 W176. The first step is to open the hood and remove the protective cove…

Mercedes Classe A
(2012-2018 /
W176)
This guide shows how to locate the position of the radiator thermostat of the Mercedes Benz A180 W176. This component regulates the flow of coolant i…

Mercedes Classe A
(2012-2018 /
W176)
This guide shows how to replace the front windshield wiper blades on the Mercedes Benz A-Class W176. This operation takes only a few seconds and does…
Other guides you may be interested in
|
How to Remove the Rear Seat of a Hyundai Tucson?
To remove the rear seat of a Hyundai Tucson, follow these steps. Start by moving the front seats to their most forward position to gain space. Next, locate the release lever on the underside of the rear seat, near the floor. Press this lever down while pulling the seat upwards to unlock it from the anchor pins. Once unlocked, tilt the seat upwards and forwards to remove it from its position. Repeat this process for both sides of the rear seat. Be careful of any electrical cables or components that may be connected to the seat during removal. Once the rear seat is removed, the disassembly is complete. by ScegliAuto More videos
|
|
For advertising on this site Write to info@scegliauto.com
ScegliAuto is not responsible for any inaccuracy of the data in the lists. To report any inaccuracy or your business (if you own the business in question), please write to info@scegliauto.com
Number of seconds to generate the page: 0.021
(c) ScegliAuto 2026 - info@scegliauto.com - Privacy policy VAT number: IT01247470535 |
