
|
Do it yourself
| |||
| ||||


Steering Gear and Tie Rod End Replacement
Model: Mercedes Classe C
W202
- Years:
1993, 1994, 1995, 1996, 1997, 1998, 1999, 2000
Video tutorial
The steering gear of the vehicle in question consists of a hydraulic jack connected to a bar that links the wheels through the tie rods and tie rod ends: essentially, the mechanical part and the hydraulic part are separate. To replace the bar, it is advisable to lift the vehicle on a lift rather than on ramps. Once the vehicle is lifted, proceed to disassemble the tie rod ends from the suspension control arms, the support ends of the bar itself, and separate the jack from the bar. Then, install the new tie rod ends, comparing the length with the original (or unscrew an old tie rod end and count the number of turns) to maintain the alignment. Finally, position the new bar complete with tie rod ends, securing it to the suspension control arms and the jack.
Updated on 14 February 2026 by ScegliAuto
Related tutorials
Mercedes Classe C
(2000-2007 /
W203)
The instructions in this guide will show us how to disassemble and replace the steering box of the Mercedes C-Class. First, we lift the vehicle and s…

Mercedes Classe C
(2007-2013 /
W204)
In rare cases, the steering wheel may remain locked even when inserting the key and pressing the clutch. This may indicate an electrical failure in t…

Mercedes Classe C
(2007-2013 /
W204)
If the steering wheel is locked and you cannot start the engine, it means there is a failure in the electric steering lock located at the rear of the…
ScegliAuto offers an extensive international collection of automotive tutorials available in 12 languages. Each guide combines instructional videos with original explanations written by experienced human editors, along with information about the car models covered.
Other guides you may be interested in
|
How to Reset the Tyre Pressure Warning Light in the Suzuki Swift?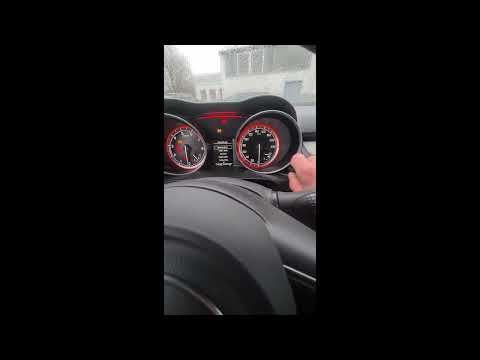
To reset the tyre pressure warning light in the Suzuki Swift, turn on the ignition, then navigate through the menu using the button located on the right side: this button should be rotated to locate the options displayed. You will need to select the option indicating tyre pressure and then select the "Reset" option: this way, the sensors will read the new tyre pressure values. If the tyres have been inflated to the correct pressure, the light will turn off automatically. by ScegliAuto More videos
|
|
For advertising on this site Write to info@scegliauto.com
ScegliAuto is not responsible for any inaccuracy of the data in the lists. To report any inaccuracy or your business (if you own the business in question), please write to info@scegliauto.com
Number of seconds to generate the page: 0.020
(c) ScegliAuto 2026 - info@scegliauto.com - Privacy policy - About us VAT number: IT01247470535 |
