
|
Do it yourself
| |||
| ||||


Replacing Rear Headlamp Bulbs
Model: Mini Mini
R56, R57, R55
- Years 2007-2014
Are your bulbs burnt out? I will explain how to remove and replace the bulbs of your car's rear headlamp. It requires some skill! Gather a trim removal kit for automotive plastics and Torx keys. Use a trim tool to remove the chrome bezel of the headlamp to access the screws. Then, open the bonnet; on the right side, you will find a small cover that you need to open to detach the clips of the bulb holder. Now, using the Torx keys, remove all screws, then gently pull the headlamp towards you to remove it. Next, remove the bulb holder and replace all necessary bulbs, then reassemble everything in reverse order and your work is complete.
Updated on 27 February 2026 by ScegliAuto
Video tutorial
Related tutorials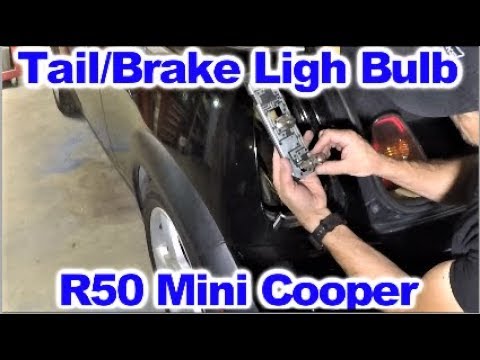
Mini
(2001-2007 /
R52, R50, R53)
Damaged headlight bulbs on a Mini? Let's replace them with new bulbs. We open the trunk lid, remove the plastic panel of the side trim (unscrew the t…
Mini
(2014-2023 /
F57, F56, F55, F54)
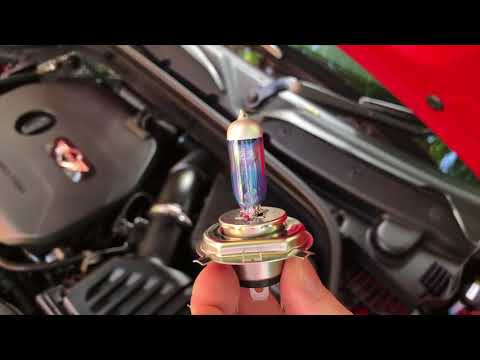
Let's see the replacement of bulbs on a Mini. We open the front hood by pulling the lever located at the bottom right of the dashboard, let's put it …

Mini
(2010-2016 /
Countryman1, R60)
Replacing the rear light bulb on a Mini Countryman R60 model vehicle is a simple and quick operation to perform independently. We open the trunk of t…
Other guides you may be interested in
|
Tips on How to Change the Glow Plugs on 1.3 MJT Engines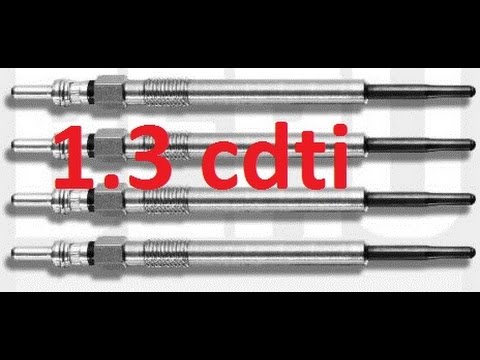
The 1.3 CDTI engine is used in many models from Fiat, Lancia, Opel, and Suzuki, making glow plug wear a common issue. The glow plugs are located at the front of the engine, just in front of the rocker cover. Simply remove the engine cover to locate them. A quick functionality check can be done by disconnecting the connector and gently touching the glow plug with an electric wire connected to the positive terminal of the battery: if a spark occurs, the glow plug is fine. A problem that may arise during replacement is that the glow plug may not unscrew. It is advisable to spray some penetrating oil and let it sit overnight before unscrewing it with an 8 mm socket. Before installing the new one, apply some special grease and do not exceed the torque specification. by ScegliAuto More videos
|

|
For advertising on this site Write to info@scegliauto.com
ScegliAuto is not responsible for any inaccuracy of the data in the lists. To report any inaccuracy or your business (if you own the business in question), please write to info@scegliauto.com
Number of seconds to generate the page: 0.105
(c) ScegliAuto 2026 - info@scegliauto.com - Privacy policy VAT number: IT01247470535 |