
|
Do it yourself
| |||
| ||||


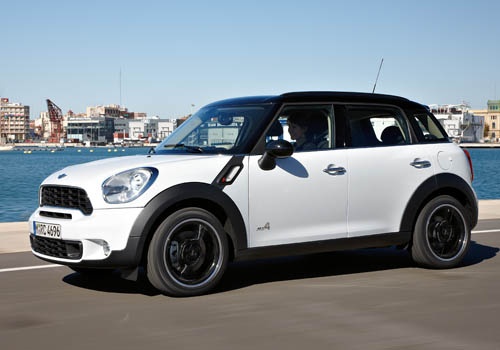
How to replace the rear headlight bulb of the Mini Countryman
Model: Mini Mini
R60, Countryman1
- Years:
2010, 2011, 2012, 2013, 2014, 2015, 2016
Video tutorial
Replacing the rear light bulb on a Mini Countryman R60 model vehicle is a simple and quick operation to perform independently. We open the trunk of the car and remove the side carpet to access the inside of the headlight. Using an 8mm wrench, we unscrew the two bolts that secure the headlight assembly. We disconnect the connector from the headlight and move the bearing back. We remove the headlight from its housing and continue with the replacement of the non-functioning bulbs. We insert the new bulbs into the headlight and position the headlight in its housing. We connect the connector and screw the two fixing screws with the wrench, position the bearing, and mount the side cover. If necessary, we perform the replacement of the left rear headlight bulb using the same steps.
Posted on 1 November 2025 by ScegliAuto
Related tutorials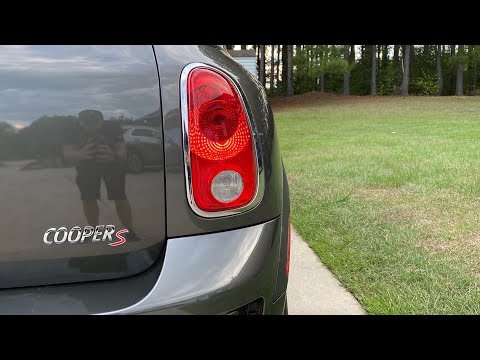
Mini
(2010-2016 /
R60, Countryman1)
Before you start, open the tailgate of your Mini Countryman. Begin by unclipping and removing the inner side cover of the boot, then unclip the clips…

Mini
(2010-2016 /
R60, Countryman1)
In order to replace the rear headlight bulb of the Mini Countryman, you need to open the rear hatch so that you can locate the interior panel of the …
Mini
(2010-2016 /
R60, Countryman1)
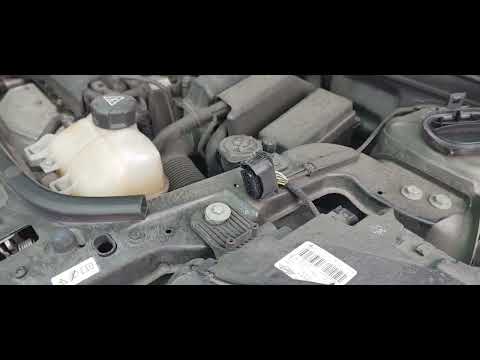
To replace the left front headlight bulb on a 2012 Mini Countryman, follow these steps: - Open the bonnet; - Remove the cover of the light unit to ac…
Other guides you may be interested in
|
How to Reset the AdBlue Warning Light on a Peugeot Boxer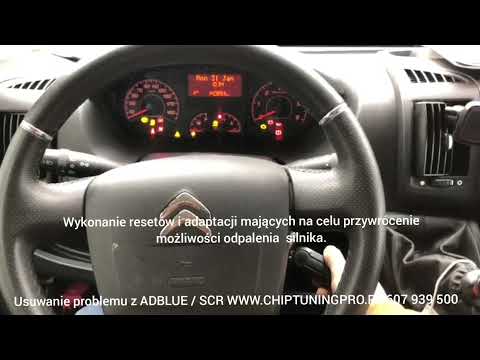
To reset the AdBlue system on a 2018 Peugeot Boxer, follow these steps: Start the engine and ensure the vehicle is parked in a well-ventilated area. Locate the "MENU" button on the dashboard or steering wheel controls. Press and hold the "MENU" button until the menu options appear on the display. Use the arrow buttons or scroll wheel to access the "Vehicle Settings" or "Settings" menu. Select the "AdBlue" or "AdBlue System" option. Look for the "Recharge" or "Reset" option in the AdBlue menu. Once you find the reset option, select it and confirm your choice when prompted. The system will be reset, and a confirmation message may appear on the display. Turn off the engine and wait a few seconds. Restart the engine and check that the AdBlue system has been reset. by ScegliAuto More videos
|
|
For advertising on this site Write to info@scegliauto.com
ScegliAuto is not responsible for any inaccuracy of the data in the lists. To report any inaccuracy or your business (if you own the business in question), please write to info@scegliauto.com
Number of seconds to generate the page: 0.081
(c) ScegliAuto 2026 - info@scegliauto.com - Privacy policy VAT number: IT01247470535 |
