
|
Do it yourself
| |||
| ||||


How to replace the front headlight bulb of the 2014 Mini Countryman
Model: Mini Mini
R60, Countryman1
- Years 2010-2016
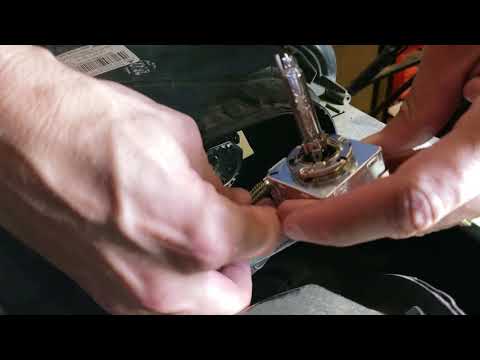
If one of the bulbs in the front headlight of your 2014 Mini Countryman has stopped working and you want to find out how to replace it correctly, all you have to do is follow the steps described in the following guide. First, lift the front hood and make sure the engine compartment is cool, then remove the safety cap located at the back of the headlight. At this point, you can proceed with replacing the faulty bulb with a new one. Finally, reattach the protective cap and the procedure is successfully completed.
Posted on 21 December 2024 by ScegliAuto
Video tutorial
Related tutorials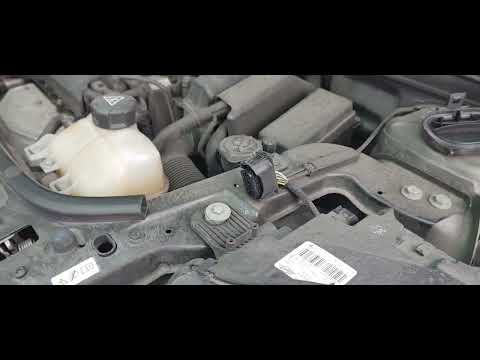
Mini
(2010-2016 /
R60, Countryman1)
To replace the left front headlight bulb of the 2012 Mini Countryman, follow these steps: - open the front hood; - remove the cover of the light fixt…
Mini
(2010-2016 /
R60, Countryman1)
In order to replace the headlight bulb of the Mini Countryman, you need to open the hood so that you can access the components inside the engine comp…

Mini
(2010-2016 /
R60, Countryman1)
To replace the license plate light bulb on a Mini Countryman, follow these steps clearly shown in the video. Open the trunk hood: use a screwdriver t…
Other guides you may be interested in
|
How to Remove the Right Door Panel on a Renault Clio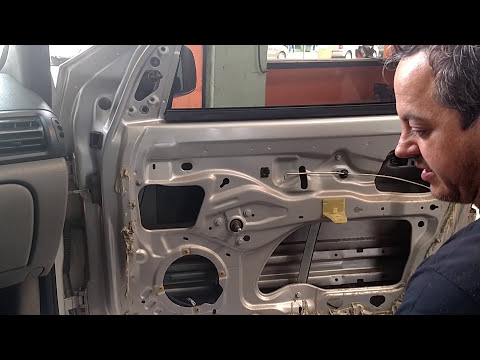
In this video, we will see how to remove the passenger side door panel on a Renault Clio. To start, unscrew the securing screws on the side of the door panel with a screwdriver. Pry around the internal handle of the door with a lever and remove it along with the speaker grille. Unscrew the securing screws located in the handle and remove all the plastics on the panel. Use a lever to detach the panel from the door and disconnect any power cables. Once the panel is free from obstacles, pull it away with your hands. by ScegliAuto More videos
|

|
For advertising on this site Write to info@scegliauto.com
ScegliAuto is not responsible for any inaccuracy of the data in the lists. To report any inaccuracy or your business (if you own the business in question), please write to info@scegliauto.com
Number of seconds to generate the page: 0.104
(c) ScegliAuto 2026 - info@scegliauto.com - Privacy policy VAT number: IT01247470535 |