
|
Do it yourself
| |||
| ||||


How to repair the start & stop system on a Mini Cooper D
Model: Mini Mini
R57, R55, R56
- Years 2007-2014
In this video we see how to repair the start & stop system on a Mini Cooper D, and when the system stops working, a yellow warning light with the start & stop symbol comes on. We need to go to the engine compartment and find the vacuum sensor, located on the right side of the car, near the brake servo. To get there we have to remove the windshield wiper arms, and the protective grille underneath. The sensor is naturally connected to an electrical connector, so it needs to be disconnected and replaced with a new one, which can be found for example on auto-doc. It at a price of 9.12 euros + 9.95 euros for delivery. Reconnect the electrical connector, put back the grille and wiper arms: test the car and the start & stop light is gone.
Posted on 19 June 2025 by ScegliAuto
Video tutorial
Related tutorials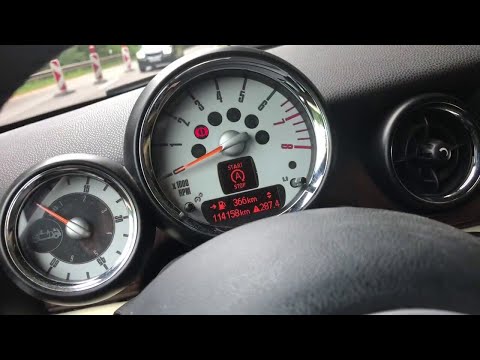
Mini
(2007-2014 /
R57, R55, R56)
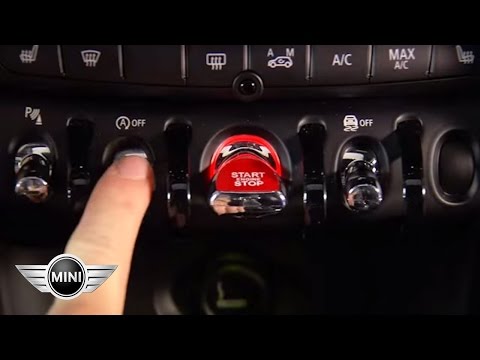
Today we will see, in this video tutorial, how to enable or disable the start & stop system of the Mini Cooper, but also of the Countryman. First of …
Mini
(2007-2014 /
R57, R55, R56)
Following these brief and simple steps, we will see how to activate or deactivate the Start&Stop system of the Mini Cooper. First of all, we get into…
Mini
(2014-2023 /
F55, F54, F57, F56)
The Start & Stop system allows the car to switch off automatically during a prolonged stop, for example waiting for a red light. Often the system can…
Other guides you may be interested in
|
How to Replace the Rear Light and Bulbs on a Ford Focus Year 2000
To replace the rear light and bulbs on a Ford Focus 2000/2004, first, open the tailgate of the boot. This gives access to the screw that holds the rear light in place. The screw to undo (using an appropriate screwdriver) is located inside the light and corresponds to the fold that accommodates the tailgate (as shown in the images). Once you start to undo it, continue with the operation and then remove the nut from the inside of the bodywork. At this point, you can remove the light, being careful to disconnect the electrical supply by unplugging the connectors or removing the entire bulb holder from its housing. This way, you can replace the bulbs. To reassemble everything, simply follow the described operations in reverse order. by ScegliAuto More videos
|

|
For advertising on this site Write to info@scegliauto.com
ScegliAuto is not responsible for any inaccuracy of the data in the lists. To report any inaccuracy or your business (if you own the business in question), please write to info@scegliauto.com
Number of seconds to generate the page: 0.060
(c) ScegliAuto 2026 - info@scegliauto.com - Privacy policy VAT number: IT01247470535 |