
|
Do it yourself
| |||
| ||||


How to reset the oil life indicator of the Mini Cooper from the instrument panel.
Model: Mini Mini
R55, R57, R56
- Years 2007-2014
To reset the oil life indicator on the Mini Cooper, you only need to work from the central instrument panel, without using diagnostic tools. With the car stationary, turn the ignition to the "on" position, leaving the engine off. On the central tachometer, at the bottom, there is a display showing the mileage, and to the right, there is a small button that controls the onboard computer. Pressing this button cycles through the various screens until the display shows the symbol of the car on a lift, indicating the maintenance section. Continuing to use the same button, navigate to the screen with the icon of the oil can; when this is visible, hold the button down for a longer period. After a few seconds, the display will show the word "RESET," indicating that the system is ready to reset the oil change interval. Keep holding until the panel updates the data and shows the new remaining mileage along with the date of the next service. At this point, you can release the button and return to the normal screen: the oil change warning has been reset, and the Mini Cooper will record the new maintenance interval.
Posted on 29 November 2025 by ScegliAuto
Video tutorial
Related tutorials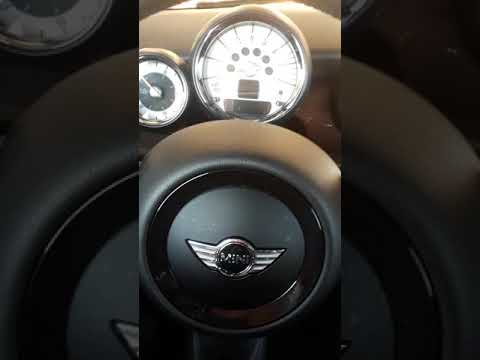
Mini
(2007-2014 /
R55, R57, R56)
The Mini Cooper Service warning light reset operation is carried out by turning on the instrument panel, turning the appropriate key inside the ignit…

Mini
(2014-2023 /
F55, F56, F57, F54)
Like all cars, the Mini Cooper also has its maintenance program, detailed in the user manual. The oil change and oil filter replacement are essential…

Mini
(2017-2023 /
F60, Countryman2)
In this new guide dedicated to the new 2022 Mini Cooper, we will discover how to manually reset the engine oil warning light without using any profes…
Other guides you may be interested in
|
How to Remove the Gear Knob on a Renault Scenic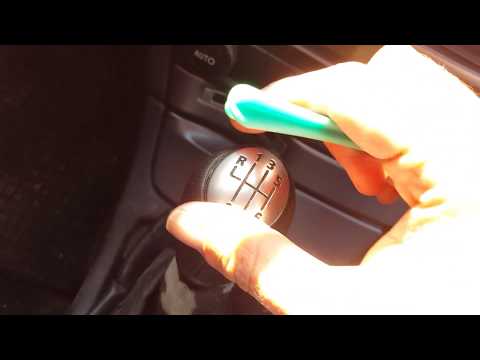
Want to replace the gear knob on a Scenic? Let’s see how to do it in this video. First, detach the leather gaiter cover from the edge of the centre console. Use a plastic spatula to remove the cap indicating the gear numbers. Grip the knob and twist it until it comes off the shaft. Disconnect the knob from the gaiter, fit a new one onto the gaiter (if the gaiter is damaged, replace it with a new one) and attach it to the metal shaft. Finally, secure the connectors of the leather gaiter onto the centre console. by ScegliAuto More videos
|

|
For advertising on this site Write to info@scegliauto.com
ScegliAuto is not responsible for any inaccuracy of the data in the lists. To report any inaccuracy or your business (if you own the business in question), please write to info@scegliauto.com
Number of seconds to generate the page: 0.055
(c) ScegliAuto 2026 - info@scegliauto.com - Privacy policy VAT number: IT01247470535 |