
|
Do it yourself
| |||
| ||||


How to Replace the Third Brake Light on a 2012 Mini Cooper
Model: Mini Mini
R55, R57, R56
- Years 2007-2014
Today, you will learn how to replace the third brake light on a 2012 Mini Cooper. Open the boot of the vehicle and unscrew the four screws along the edge using a 25 mm Torx key. Gently push the lamp outwards and disconnect the connector. Insert the new lamp into its seat and connect the connector. Screw the four screws back in using the Torx key. Close the boot and turn on the vehicle lights to test the bulbs; if they do not work, it may be necessary to replace the relevant fuse.
Posted on 7 February 2026 by ScegliAuto
Video tutorial
Related tutorials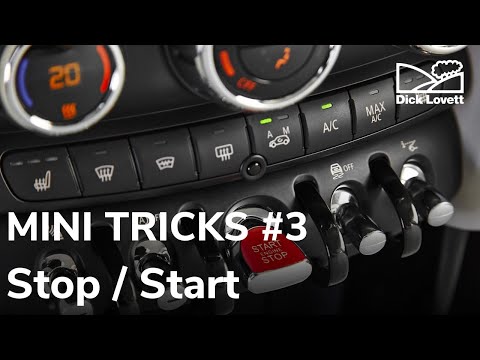
Mini
(2014-2023 /
F55, F56, F57, F54)
In order to deactivate the Start&Stop feature of the Mini Cooper, you need to turn on the car by inserting the appropriate key into the ignition swit…
Mini
(2007-2014 /
R55, R57, R56)
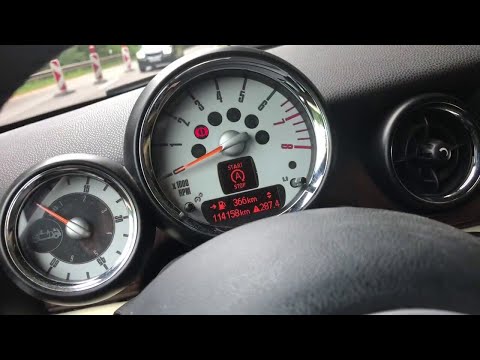
Today we will see, in this video tutorial, how to enable or disable the start & stop system of the Mini Cooper, but also of the Countryman. First of …
Mini
(2017-2023 /
F60, Countryman2)
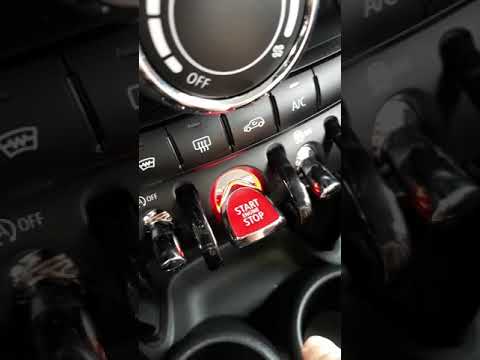
The deactivation operation of the Mini Cooper's Start&Stop is carried out by pressing the appropriate button on the dashboard: before pressing the bu…
Other guides you may be interested in
|
How to Replace the Radio in a Ford Focus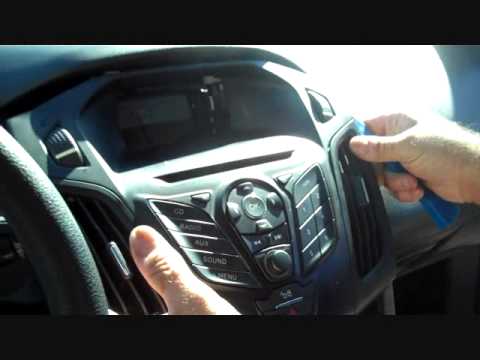
First, engage the handbrake and put the car in a low gear to prevent it from rolling during the replacement. Next, lift the bonnet to disconnect the battery cables and protect the electronic components. Unscrew the two screws located under the front panel of the stereo. Use a plastic lever to lift the bottom of the stereo. Disconnect the connector at the bottom and also remove the stereo lock at the back. Now, install the new stereo following the guides from the old one. by ScegliAuto More videos
|

|
For advertising on this site Write to info@scegliauto.com
ScegliAuto is not responsible for any inaccuracy of the data in the lists. To report any inaccuracy or your business (if you own the business in question), please write to info@scegliauto.com
Number of seconds to generate the page: 0.103
(c) ScegliAuto 2026 - info@scegliauto.com - Privacy policy VAT number: IT01247470535 |