
|
Do it yourself
| |||
| ||||


Replacing the Rear Badge on Mini Cooper
Model: Mini Mini
R53, R52, R50
- Years 2001-2007
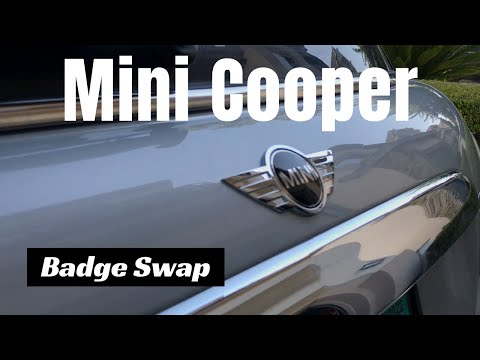
With exposure to sunlight and weather conditions, it is likely that the manufacturer’s badge will deteriorate over time. If you intend to replace it, you’re in the right video. Gather the new badge, a long flat tool, silicone, and a degreaser, then follow these steps. The badge is held in place by two internal clips and is glued to the bodywork. Carefully run the flat tool around the perimeter of the badge to detach the glue from the bodywork. The glue and dirt will likely have left marks, which you now have the opportunity to remove. Apply some silicone to the new badge and insert it into the designated holes on the bodywork. Finally, apply some pressure to ensure the silicone adheres properly.
Updated on 2 May 2026 by ScegliAuto
Video tutorial
Related tutorials
Mini
(2007-2014 /
R56, R55, R57)
To replace the bonnet badge on a Mini Cooper, open the bonnet and work from the inside of the front grille. Locate the pins or tabs that secure the b…

Mini
(2007-2014 /
R56, R55, R57)
In this video, we will see how to replace a damaged Mini badge on a Mini Cooper: the logo can be easily found on any e-commerce platform, for example…
Mini
(2007-2014 /
R56, R55, R57)
In this video, you will see how to replace the rear logo of a Mini, which is now completely damaged, with a new one. You can obtain the new logo, for…
Other guides you may be interested in
|
How to Bleed the Clutch on a Renault Clio?
To bleed the clutch on a Renault Clio, open the bonnet to access the components located in the engine bay: here, you will need to undo the screws that secure the battery in its housing, the intake manifold, and the coolant reservoir. This will allow you to locate the pipe through which the brake fluid flows: by inserting the other end of the pipe into a container, you can press the clutch pedal to expel all the fluid until it fills the container. by ScegliAuto More videos
|
|
For advertising on this site Write to info@scegliauto.com
ScegliAuto is not responsible for any inaccuracy of the data in the lists. To report any inaccuracy or your business (if you own the business in question), please write to info@scegliauto.com
Number of seconds to generate the page: 0.102
(c) ScegliAuto 2026 - info@scegliauto.com - Privacy policy VAT number: IT01247470535 |
