
|
Do it yourself
| |||
| ||||


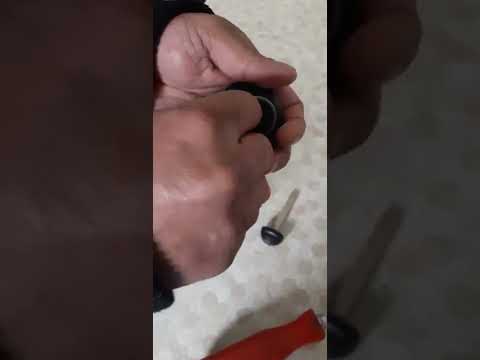
How to replace the key cover of a Mini Cooper
To perform the replacement of the key shell of a Mini Cooper car we will need a few tools: a small utility knife with a very thin blade and a small screwdriver. We take the key of our car and with the help of the cutter we open the body; to do this we will have to insert the blade into the edge of the shell and pass it entirely over the entire circumference of the same, therefore along all the edges. At this point, once the shell has been opened, we will have the remote control circuit in front of us; we extract the latter and insert it into the new shell. To open the new body, it will be sufficient to pry with the tip of the screwdriver only on the upper edge of the same. We close the body by simply applying pressure with the fingers.
Posted on 29 August 2022 by ScegliAuto
Video tutorial
Related tutorials
Mini
(2007-2014 /
R56, R57, R55)
Good morning, today's goal is to replace the battery of our Mini Cooper key. Let's start by unhooking and removing the back cover of the key, leverag…
Mini
(2017-2023 /
Countryman2, F60)
To be able to replace the button cell inside the Mini Cooper key, just a few simple steps are enough. Let's find out what they are. First you need to…

Mini
(2001-2007 /
R52, R50, R53)
Before we can begin, we will have to go and open the front passenger door of our Mini Cooper. The fuse box is located in the lower footwell of the fr…
Other guides you may be interested in
|
How to Replace the Window Regulator on the BMW X3
Replacing the window regulator mechanism requires removing the door panel and the aluminum underpanel to access the mechanism itself. Remove the motor and loosen the glass retaining clips to complete the removal of the window regulator. Attach the motor to the new mechanism and insert the assembled unit back into the door, securing it with the appropriate nuts. Then, insert the glass and tighten the clips, completing the installation by connecting the motor's power connector and performing a functionality check before reassembling all other components. by ScegliAuto More videos
|

|
For advertising on this site Write to info@scegliauto.com
ScegliAuto is not responsible for any inaccuracy of the data in the lists. To report any inaccuracy or your business (if you own the business in question), please write to info@scegliauto.com
Number of seconds to generate the page: 0.108
(c) ScegliAuto 2026 - info@scegliauto.com - Privacy policy VAT number: IT01247470535 |