
|
Do it yourself
| |||
| ||||


The reason why the rear hatch of a Mini does not open.
Model: Mini Mini
R55, R57, R56
- Years 2007-2014
In this video, we see how to open the trunk of the Mini Cooper, which has no difficulty opening. We see this particular example where the trunk opens with the key but not from the handle: we have to remove the component from the car by removing the four bolts that hold it to the body; of course, we also remove the electrical connections and take the bar to see what's wrong. We need to separate the body from the electronic and mechanical parts. We see that the pin that should make the connection for the opening input does not touch. Unless you are an electronics expert and can repair the damaged circuit, the only solution is to replace the entire handle, which contains all the electronic and mechanical parts. For example, item B0BCJLBWN7 on Amazon, priced at 46.99 euros + 20.74 euros for shipping.
Posted on 14 July 2023 by ScegliAuto
Video tutorial
Related tutorials
Mini
(2014-2023 /
F55, F56, F57, F54)
In this video we can see how to open the rear trunk door of a Mini Clubman that is stuck from the inside. As with all cars that have this problem, we…

Mini
(2007-2014 /
R55, R57, R56)
Let's see how to replace the lock of the rear hatch handle of the Mini R55: unfortunately, this is a common issue with this model. The rear hatch onl…
Mini
(2007-2014 /
R55, R57, R56)
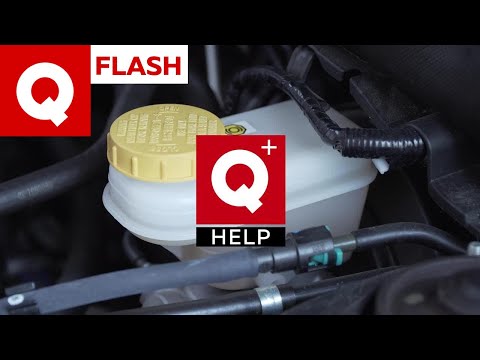
In this video, we see why the brake fluid level drops: excluding any system failures, for which you should immediately go to a mechanic, there is a t…
Other guides you may be interested in
|
Frequently Asked QuestionsHow to Replace the Window Regulator on the BMW X3
Replacing the window regulator mechanism requires removing the door panel and the aluminum underpanel to access the mechanism itself. Remove the motor and loosen the glass retaining clips to complete the removal of the window regulator. Attach the motor to the new mechanism and insert the assembled unit back into the door, securing it with the appropriate nuts. Then, insert the glass and tighten the clips, completing the installation by connecting the motor's power connector and performing a functionality check before reassembling all other components. by ScegliAuto More videos
|

|
For advertising on this site Write to info@scegliauto.com
ScegliAuto is not responsible for any inaccuracy of the data in the lists. To report any inaccuracy or your business (if you own the business in question), please write to info@scegliauto.com
Number of seconds to generate the page: 0.114
(c) ScegliAuto 2026 - info@scegliauto.com - Privacy policy VAT number: IT01247470535 |