
|
Do it yourself
| |||
| ||||


Service Manual for the Mitsubishi Space Star 2013
Model: Mitsubishi Space Star
MK 2
- Years 2012-2024
The service manual (or workshop manual) for a Mitsubishi Space Star is very useful, much more than a simple user and maintenance manual. It is a technical tool designed for mechanics or experienced enthusiasts. It contains error codes and procedures to diagnose issues with the engine, ABS, airbags, etc. It explains how to use the MUT III, Mitsubishi's diagnostic tool, to read faults. It indicates maintenance intervals (oil, filters, belts, spark plugs, fluids) and specifies the schedule for servicing. It shows exploded diagrams of every component, engine, gearbox, suspension, brakes, bodywork, and interior; it explains how to disassemble and reassemble correctly without damaging anything. It is necessary if you want to repair the vehicle yourself, replace a complex component, if you have an electrical fault and need to trace wires, or if you need to perform in-depth maintenance.
Posted on 4 May 2026 by ScegliAuto
Video tutorial
Related tutorials
Mitsubishi Space Star
(1998-2005 /
MK 1)
In this video, we see how to reset the service light on the Mitsubishi Space Star MK1: getting into the car, we need to make sure all the doors, as w…
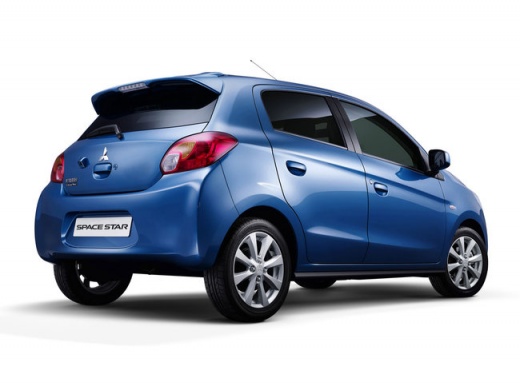
Mitsubishi Space Star
(1998-2005 /
MK 1)
In this video, see how to turn off the service light on the Mitsubishi Space Star (the same method applies to the Mitsubishi Mirage). After closing a…

Mitsubishi Space Star
(2012-2024 /
MK 2)
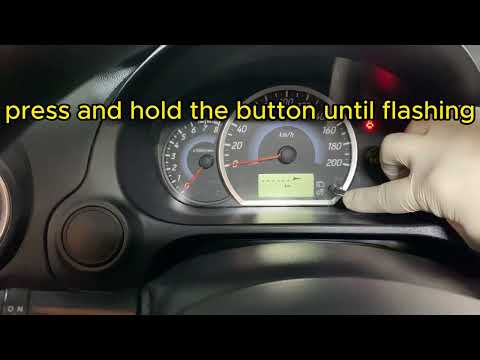
In this video we can see how to reset the service light on a Mitsubishi Space Star MK2: of course all the car doors must be closed. The whole process…
Other guides you may be interested in
|
How to Remove the Front Bumper of the Citroën C4 Picasso?
To remove the front bumper of the Citroën C4 Picasso, you need to take out all the rivets and screws that secure the piece to its housing: these screws are located inside the wheel arches of the front wheels and at the central upper part of the bumper itself. Once all these fastening elements have been removed, you can detach the bumper from its seat by disconnecting the connectors inside and then insert the new replacement part. The new part can then be secured and connected properly, ensuring it is correctly fixed in place. by ScegliAuto More videos
|
|
For advertising on this site Write to info@scegliauto.com
ScegliAuto is not responsible for any inaccuracy of the data in the lists. To report any inaccuracy or your business (if you own the business in question), please write to info@scegliauto.com
Number of seconds to generate the page: 0.092
(c) ScegliAuto 2026 - info@scegliauto.com - Privacy policy VAT number: IT01247470535 |
