
|
Do it yourself
| |||
| ||||


How to replace the front headlights on a Mitsubishi Outlander?
Model: Mitsubishi Outlander
MK 2
- Years 2007-2012
In this tutorial, you will learn how to replace the front headlights on a Mitsubishi Outlander. This task is straightforward but requires removing the bumper. First, open the bonnet. Next, remove the retaining rivets from the upper cover, take it off, and unscrew all the indicated bolts. Continue by unscrewing the screws located inside the wheel arch, removing all lower rivets and bolts, and separating the bumper from the frame. At this point, disconnect the headlight connectors, unscrew the respective fixing bolts, and remove the headlights from their housings. To install the new parts, simply follow the reverse procedure.
Updated on 26 June 2026 by ScegliAuto
Video tutorial
Related tutorials
Mitsubishi Outlander
(2021-2026 /
MK 4)
In this tutorial, you will see how to replace the front headlight bulbs in a Mitsubishi Outlander, an extremely simple and quick operation. First, en…
Mitsubishi Outlander
(2007-2012 /
MK 2)
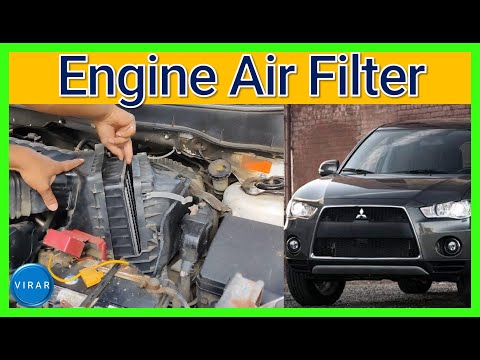
If you own a Mitsubishi Outlander Mk2 and need a guide to correctly replace the engine air filter, then you are in the right place. All you have to d…
Mitsubishi Outlander
(2013-2021 /
MK 3)
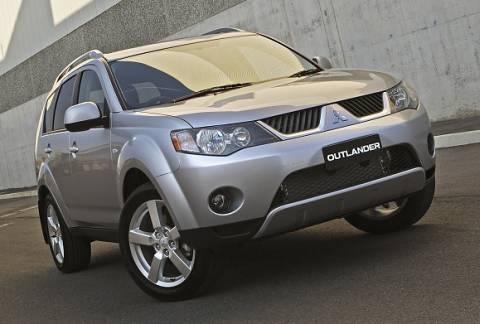
Replacing the right front headlight bulb on a Mitsubishi Outlander follows short and simple steps that you can carry out independently, thanks to our…
Other guides you may be interested in
|
Fuses Location and Diagram for the Volkswagen Crafter
In this guide, we will look at the location of the fuse boxes and how to find their diagram for the Volkswagen Crafter. First, get inside the vehicle and start by removing the plastic cover found under the steering wheel, to access the internal fuse box; you will find another fuse box in the engine compartment by removing the plastic cover located next to the battery. At this point, use the owner's manual to find the fuse diagram, which will allow you to identify and replace any blown fuses with new ones! by ScegliAuto More videos
|
|
For advertising on this site Write to info@scegliauto.com
ScegliAuto is not responsible for any inaccuracy of the data in the lists. To report any inaccuracy or your business (if you own the business in question), please write to info@scegliauto.com
Number of seconds to generate the page: 0.154
(c) ScegliAuto 2026 - info@scegliauto.com - Privacy policy VAT number: IT01247470535 |
