
|
Do it yourself
| |||
| ||||


How to Install the Mitsubishi Eclipse Cross Badge on the Bonnet
Model: Mitsubishi Eclipse Cross
YA, GL, GK, YB
- Years 2018-2026
In this video, we will see how to install the "Eclipse Cross" badge on the bonnet of this vehicle. This is a very delicate operation. First, clean the bonnet thoroughly, then find the exact midpoint of the bonnet; this measurement is taken from the centre of the Mitsubishi emblem on the grille. Now, take the badge to apply, which you will need to position on the bonnet after taking accurate measurements, starting from the midpoint of the badge and dividing the strip for more reference points. Once placed, secure it at the sides and check if it is indeed straight. If so, adhere it and remove the top adhesive part, leaving the letters in place. Operation completed!
Updated on 15 August 2026 by ScegliAuto
Video tutorial
Related tutorials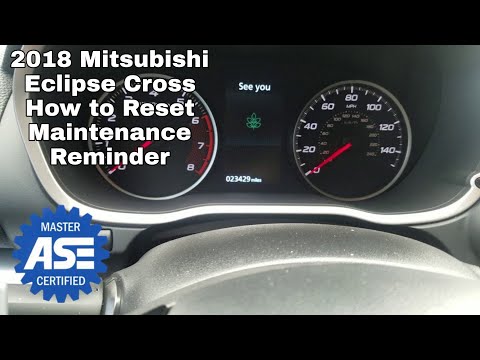
Mitsubishi Eclipse Cross
(2018-2026 /
YA, GL, GK, YB)
In this tutorial, you will see how to reset the service in the Mitsubishi Eclipse Cross, a very simple and quick operation that should only be perfor…

Mitsubishi Eclipse Cross
(2018-2026 /
YA, GL, GK, YB)
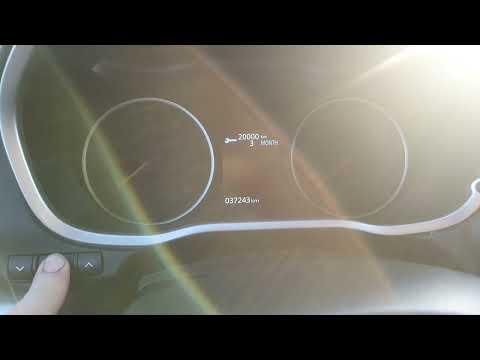
Resetting the service in the Mitsubishi Eclipse Cross, as we can see in this tutorial, is an extremely simple and quick operation. Before proceeding,…
Mitsubishi Eclipse Cross
(2018-2026 /
YA, GL, GK, YB)
In this tutorial, we can see how to reset the service in the Mitsubishi Eclipse Cross, an extremely simple and quick operation, to be carried out onl…
Other guides you may be interested in
|
How to Remove the Front Bumper of the Citroën C4 Picasso?
To remove the front bumper of the Citroën C4 Picasso, you need to take out all the rivets and screws that secure the piece to its housing: these screws are located inside the wheel arches of the front wheels and at the central upper part of the bumper itself. Once all these fastening elements have been removed, you can detach the bumper from its seat by disconnecting the connectors inside and then insert the new replacement part. The new part can then be secured and connected properly, ensuring it is correctly fixed in place. by ScegliAuto More videos
|

|
For advertising on this site Write to info@scegliauto.com
ScegliAuto is not responsible for any inaccuracy of the data in the lists. To report any inaccuracy or your business (if you own the business in question), please write to info@scegliauto.com
Number of seconds to generate the page: 0.057
(c) ScegliAuto 2026 - info@scegliauto.com - Privacy policy VAT number: IT01247470535 |
