
|
Do it yourself
| |||
| ||||


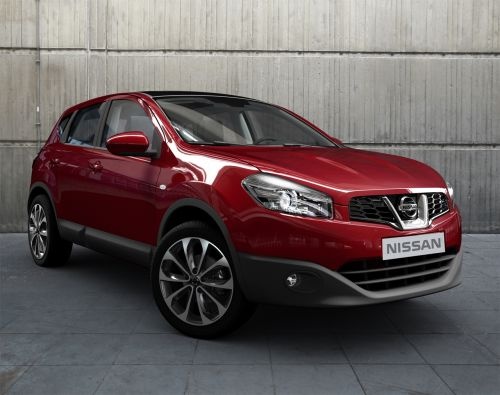
How to remove and replace the radio on a Nissan Qashqai J10
Model: Nissan Qashqai
J10
- Years:
2006, 2007, 2008, 2009, 2010, 2011, 2012, 2013, 2014
Video tutorial
In this video we can see how to remove and change the radio of a Nissan Qashqai J10: we start by removing from a corner the lower part of the dashboard, where the air conditioning controls are located, using a plastic spatula. Once this frame is removed, it will be easy to remove the upper frame, which covers the edges of the radio. Now we can remove the screws on the four sides of the radio; it is advisable to use a magnetic screwdriver, because there is a risk that the screws may fall inside the column, and then it is difficult to recover them. Now we pull the radio towards us and disconnect the electrical connectors and the antenna. We put the new radio in place, reconnecting all the connectors, test its operation, and if everything is fine, we put back the screws and then the upper and lower frames.
Posted on 19 August 2025 by ScegliAuto
Related tutorials
Nissan Qashqai
(2006-2014 /
J10)
To remove the radio from the dashboard of a Nissan Qashqai J10, it is advisable to disconnect the negative battery cable: use a plastic lever to deta…

Nissan Qashqai
(2006-2014 /
J10)
To locate the fuse box containing all the cabin fuses of your Nissan Qashqai J10, follow the few simple steps outlined in this mini guide. First, ope…
Nissan Qashqai
(2006-2014 /
J10)
In this guide, discover how to locate the OBD port on your 2013 Nissan Qashqai J10 in just a few seconds. This port allows you to connect any compati…
Other guides you may be interested in
|
Frequently Asked QuestionsHow to Open the Hood of the BMW X3
Today, you will learn how to open and close the hood of the BMW X3. To perform this simple operation, lift the hood release lever located next to the door seal on the driver’s side. After pulling the lever, you will notice that the hood will lift slightly. Position yourself in front of the hood and lift it after moving the internal lever from left to right. To keep the hood secure during maintenance, use the side support rod. To close the hood, simply let it fall back into place. by ScegliAuto More videos
|
|
For advertising on this site Write to info@scegliauto.com
ScegliAuto is not responsible for any inaccuracy of the data in the lists. To report any inaccuracy or your business (if you own the business in question), please write to info@scegliauto.com
Number of seconds to generate the page: 0.042
(c) ScegliAuto 2026 - info@scegliauto.com - Privacy policy VAT number: IT01247470535 |
