
|
Do it yourself
| |||
| ||||


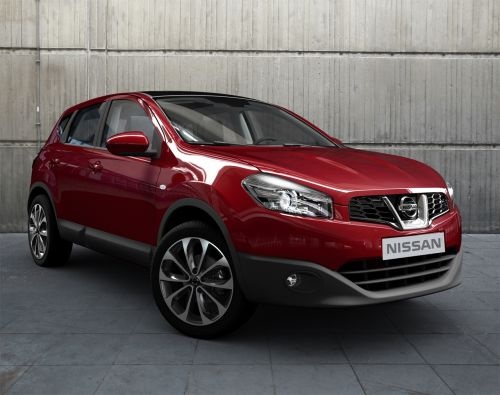
How to Remove the Radio from a Nissan Qashqai J10
Model: Nissan Qashqai
J10
- Years 2006-2014
To remove the radio from the dashboard of a Nissan Qashqai J10, it is advisable to disconnect the negative battery cable: use a plastic lever to detach the trim that houses the radio, vents, and climate controls, placing the panels to the side while keeping the connectors attached. Then unscrew the screws on the sides of the radio. Disconnect the electrical connectors and the antenna gently afterwards. Set aside the panels that may be useful later and then choose from the myriad of solutions available on the market for an Android 2DIN radio. This is a typical procedure for the Qashqai with a single panel, different from those with a separate radio, which instead require U-shaped extraction keys.
Posted on 22 May 2026 by ScegliAuto
Video tutorial
Related tutorials
Nissan Qashqai
(2006-2014 /
J10)
In this article, with the support of the video, we will see how to disassemble the car radio of our Nissan Qashqai J10, in the case of the video to r…

Nissan Qashqai
(2006-2014 /
J10)
In this video we can see how to remove and change the radio of a Nissan Qashqai J10: we start by removing from a corner the lower part of the dashboa…

Nissan Qashqai
(2006-2014 /
J10)
Today's video tutorial will show us the main instructions on how to disassemble and replace the factory radio of the Nissan Qashqai. First, we get in…
Other guides you may be interested in
|
Frequently Asked QuestionsHow to Check the Oil Level on a Jeep Renegade?
To check the oil level on a Jeep Renegade, you need to open the bonnet to access the components inside the engine bay: on the lower left side of the engine block, you will find the dipstick for checking the level. This should be pulled out and thoroughly cleaned with a cloth: once cleaned, reinsert it back into its tube and pull it out immediately after. This way, you can check that the oil mark is between the minimum and maximum levels; finally, you can place the dipstick back in its tube. by ScegliAuto More videos
|
|
For advertising on this site Write to info@scegliauto.com
ScegliAuto is not responsible for any inaccuracy of the data in the lists. To report any inaccuracy or your business (if you own the business in question), please write to info@scegliauto.com
Number of seconds to generate the page: 0.319
(c) ScegliAuto 2026 - info@scegliauto.com - Privacy policy VAT number: IT01247470535 |
