
|
Do it yourself
| |||
| ||||


Replacing Car Suspension
Model: Nissan Micra
K12
- Years 2002-2010
Follow this practical guide to replace the suspension on your car. The suspension absorbs the stresses that reach the vehicle through the compression and expansion of a gas contained within. Each suspension consists of a sealed rubber spring, utilising the compressed air generated by the compressor; without these, the wheels would lose grip on the road, resulting in a loss of vehicle control. You will need a compressor with a pneumatic gun, a jack, a spring compressor, a ratchet spanner, and a T-bar spanner. First, lift the car using the jack and remove the wheel: engage reverse gear and apply the handbrake, then remove the inner wheel arch, which is secured by three plastic nuts; push from the bottom upwards to release it. Once done, the wheel arch will come off easily. Now position the jack under the cradle on the shock absorber side. When it is raised, align the vehicle to facilitate removal. Next, unscrew the bolt holding the shock absorber using the same procedure as the lower one. Move on to install the new part: secure the lower part first; it may not align perfectly, just press while looking from the side to easily secure the bolts without complications.
Updated on 22 February 2026 by ScegliAuto
Video tutorial
Related tutorials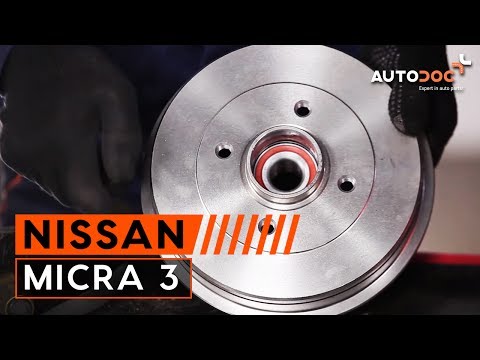
Nissan Micra
(2002-2010 /
K12)
Place the car on a ramp and lift it to a height that allows you to work underneath. Remove the rear wheel and, using a screwdriver, extract the metal…

Nissan Micra
(1992-2002 /
K11)
Need to remove the rear seat of the Micra for replacement? It’s not too complex; let’s see how to do it. Fold down the rear seatbacks and remove the …
Nissan Micra
(2017-2024 /
K14)
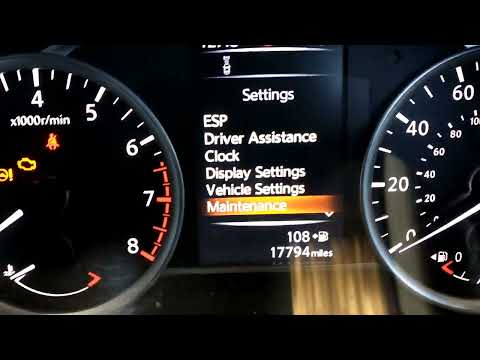
The procedure to reset the service light on a Nissan Micra consists of a few simple steps. First, get in the vehicle and press the start and stop but…
Other guides you may be interested in
|
How to Replace the Battery on a Honda Vision 110
To replace the battery on a Honda Vision 110, you need to remove the front fairing of the motorcycle, located directly under the front headlamp. To loosen this panel, unscrew the two screws found at its top, just below the handlebar. Once these screws are loosened, lever under the panel to detach it, gaining access to the battery underneath: this battery must be removed from its housing by unscrewing the fixing screws and disconnecting the power cables, replacing it with a new one. by ScegliAuto More videos
|
|
For advertising on this site Write to info@scegliauto.com
ScegliAuto is not responsible for any inaccuracy of the data in the lists. To report any inaccuracy or your business (if you own the business in question), please write to info@scegliauto.com
Number of seconds to generate the page: 0.299
(c) ScegliAuto 2026 - info@scegliauto.com - Privacy policy VAT number: IT01247470535 |
