
|
Do it yourself
| |||
| ||||


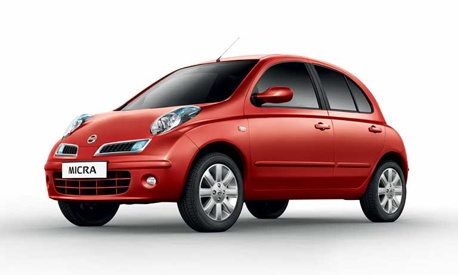
How to Change the Front Indicator Bulb of the Nissan Micra K12
Model: Nissan Micra
K12
- Years:
2002, 2003, 2004, 2005, 2006, 2007, 2008, 2009, 2010
Video tutorial
In this video, see how to change the bulb in the front indicator of the Nissan Micra K12: first, remove the two rivets at the top of the plastic grille; simply lever the plastic clip and then pull it out. Then, bend the grille towards you so you can insert your hand and pull out the plastic clips inside. At this point, the grille will come off, but be careful of the electrical connector on the side of the grille; you will need to rotate it counter-clockwise to remove it from the grille. The bulb is attached, which you can change by also rotating it counter-clockwise. It is a 12V 21W BS 382 bulb: to put everything back in place, follow the reverse order, starting with the bulb - do not touch the bulb with your hands - and screw it in clockwise, just like the connector on the grille. Refit the three clips and then the two plastic clips at the top of the grille. That's it.
Updated on 9 September 2026 by ScegliAuto
Related tutorials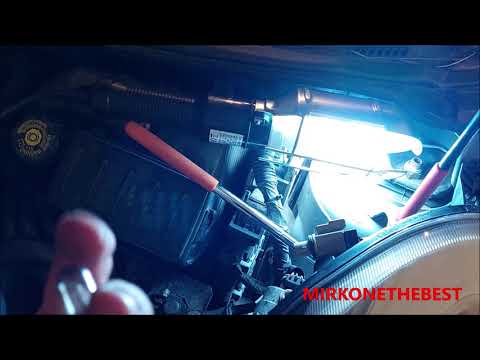
Nissan Micra
(2002-2010 /
K12)
Position lights are part of the eight mandatory lights present on every car. When one of them blows, it is important to know how to change it quickly…

Nissan Micra
(2002-2010 /
K12)
In this video we can see how to replace the side repeater indicator of a Nissan Micra K12 version with a dynamic indicator. We can easily remove the …
Nissan Micra
(2002-2010 /
K12)
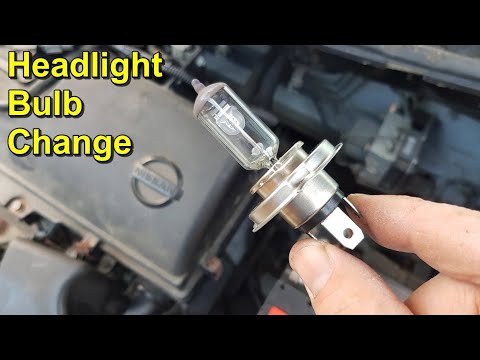
With this mini guide, you will be able to replace the front headlight bulb on your Nissan Micra K12 (2002-2010) in just a few minutes and safely. Fir…
Other guides you may be interested in
|
How to Remove the Rear Seat of a Hyundai Tucson?
To remove the rear seat of a Hyundai Tucson, follow these steps. Start by moving the front seats to their most forward position to gain space. Next, locate the release lever on the underside of the rear seat, near the floor. Press this lever down while pulling the seat upwards to unlock it from the anchor pins. Once unlocked, tilt the seat upwards and forwards to remove it from its position. Repeat this process for both sides of the rear seat. Be careful of any electrical cables or components that may be connected to the seat during removal. Once the rear seat is removed, the disassembly is complete. by ScegliAuto More videos
|
|
For advertising on this site Write to info@scegliauto.com
ScegliAuto is not responsible for any inaccuracy of the data in the lists. To report any inaccuracy or your business (if you own the business in question), please write to info@scegliauto.com
Number of seconds to generate the page: 0.062
(c) ScegliAuto 2026 - info@scegliauto.com - Privacy policy VAT number: IT01247470535 |
