
|
Do it yourself
| |||
| ||||


How to Change the Front Headlight Bulbs of an Opel Corsa
Model: Vauxhall Corsa
Corsa D
- Years 2006-2014
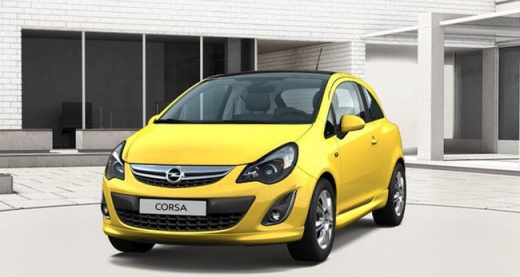
Want to change the front headlight bulbs of an Opel Corsa but don't know where to start? Follow this guide in the video. Open the bonnet by pulling the lever located at the bottom right of the dashboard and secure it. Remove the ventilation kit next to the right headlight by unscrewing the securing screws with a screwdriver (to replace the right headlight bulb). Locate the inspection cap of the headlight (located at the rear of the headlight) and remove it. At this point, you will find the bulbs with metal clips; pull the bulb holder out of the headlight and extract the damaged bulb using a screwdriver. Fit the new bulb (same type and size) and insert the bulb holder back into the headlight housing. Finally, close the headlight with the inspection cap and reassemble the ventilation kit. For replacing the left headlight bulbs, remove the washer reservoir tube extension and the fuse box cover. Use the same steps as before. Test the lights for proper operation.
Updated on 28 February 2026 by ScegliAuto
Video tutorial
Related tutorials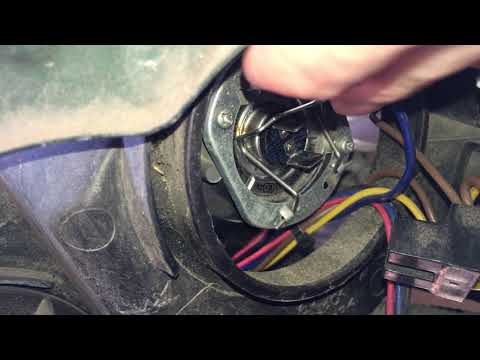
Vauxhall Corsa
(2000-2006 /
Corsa C)
Are the bulbs in your Opel Corsa blown and need replacing? Here’s how to change them in the front headlight. Open the front bonnet by pulling the lev…
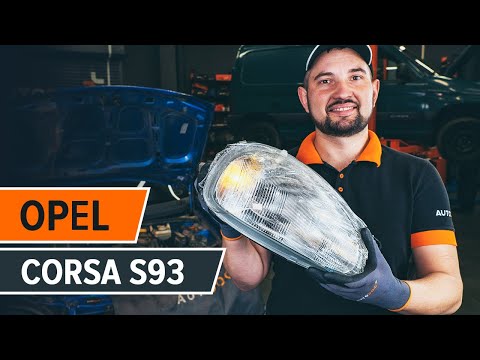
Vauxhall Corsa
(1993-2000 /
Corsa B)
In today's video, you will learn how to replace the bulbs in the front headlights on the Opel Corsa, as well as the headlight units themselves. First…
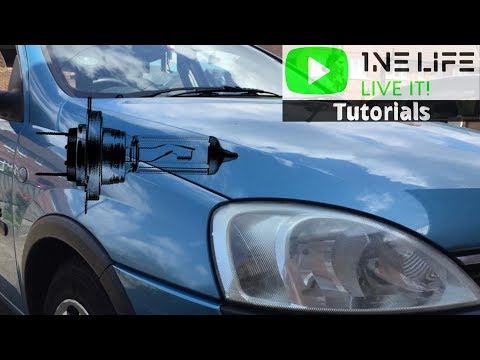
Vauxhall Corsa
(2000-2006 /
Corsa C)
Open the bonnet by pulling the lever located at the bottom right of the dashboard (secure it with the prop rod). Locate the inspection cap of the hea…
Other guides you may be interested in
|
How to Check the Oil Level on a Jeep Renegade?
To check the oil level on a Jeep Renegade, you need to open the bonnet to access the components inside the engine bay: on the lower left side of the engine block, you will find the dipstick for checking the level. This should be pulled out and thoroughly cleaned with a cloth: once cleaned, reinsert it back into its tube and pull it out immediately after. This way, you can check that the oil mark is between the minimum and maximum levels; finally, you can place the dipstick back in its tube. by ScegliAuto More videos
|
|
For advertising on this site Write to info@scegliauto.com
ScegliAuto is not responsible for any inaccuracy of the data in the lists. To report any inaccuracy or your business (if you own the business in question), please write to info@scegliauto.com
Number of seconds to generate the page: 1.050
(c) ScegliAuto 2026 - info@scegliauto.com - Privacy policy VAT number: IT01247470535 |
