
|
Do it yourself
| |||
| ||||


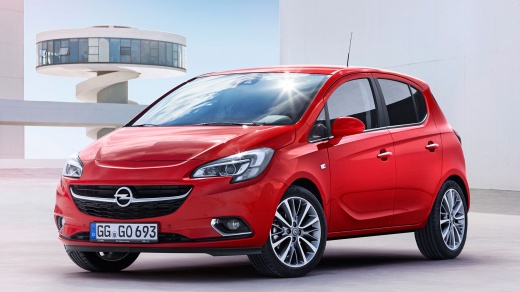
How to Remove and Replace the Headlights on an Opel Corsa E
Model: Vauxhall Corsa
Corsa E
- Years 2014-2019
To access the headlights on the Opel Corsa E, it is necessary to remove the front bumper. First, unscrew the upper screws under the bonnet along the edge of the bumper; remove the side screws from the wheel arch (two per side), loosen the rivets of the wing (the internal plastics of the wheel arch); unscrew the lower screws, one per side under the bumper; disconnect the electrical connectors and gently remove the bumper. The headlight is secured by 4 screws: one near the grille from above, one towards the bumper, one towards the engine bay, and one towards the grille (often the most difficult). Disconnect the electrical connector and extract the headlight. You can find the headlight on Tarostrade.it under EAN code 3800957059116 (for the right side) at a price of £136.19, with free delivery. For reassembly, insert the new headlight aligning the pins, screw in the 4 screws without overtightening, reconnect the connector, reposition the bumper, and adjust the headlight alignment after fitting.
Posted on 19 August 2026 by ScegliAuto
Video tutorial
Related tutorials
Vauxhall Corsa
(2006-2014 /
Corsa D)
In this tutorial, we will see how to replace the front headlights on an Opel Corsa, a very simple and quick operation. First, we lift the front side …

Vauxhall Corsa
(2006-2014 /
Corsa D)
In this tutorial, see how to adjust the headlights on the Opel Corsa, a very simple and quick operation. First, position the vehicle in front of a li…

Vauxhall Corsa
(2006-2014 /
Corsa D)
In this tutorial, we can see how to replace the front headlights on the Opel Corsa, a very simple and quick operation. First of all, make sure the ke…
Other guides you may be interested in
|
How to Check the Oil Level on a Jeep Renegade?
To check the oil level on a Jeep Renegade, you need to open the bonnet to access the components inside the engine bay: on the lower left side of the engine block, you will find the dipstick for checking the level. This should be pulled out and thoroughly cleaned with a cloth: once cleaned, reinsert it back into its tube and pull it out immediately after. This way, you can check that the oil mark is between the minimum and maximum levels; finally, you can place the dipstick back in its tube. by ScegliAuto More videos
|
|
For advertising on this site Write to info@scegliauto.com
ScegliAuto is not responsible for any inaccuracy of the data in the lists. To report any inaccuracy or your business (if you own the business in question), please write to info@scegliauto.com
Number of seconds to generate the page: 0.095
(c) ScegliAuto 2026 - info@scegliauto.com - Privacy policy VAT number: IT01247470535 |
