
|
Do it yourself
| |||
| ||||


Guide to replacing the timing chain of the Opel Astra 1.4
Model: Vauxhall Astra
Astra J
- Years 2009-2016
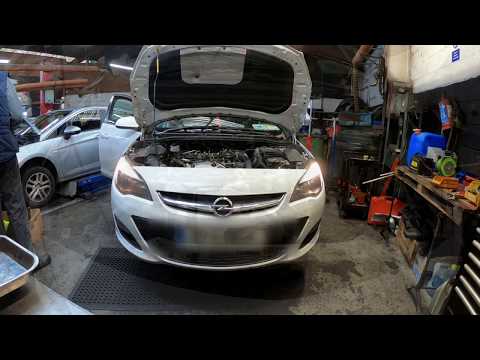
Today's main steps will show us how to disassemble and replace the timing chain of the Opel Astra 1.4. First, we open the hood of the car and start disassembling and removing the cylinder head cover, accessing the top part of the timing system; we remove the air filter box and the side distribution cover, lifting the car and disassembling all the components to access it, as shown in the video. At this point, we take the necessary references for the replacement of the chain, installing the new original one and also replacing the water pump kit.
Posted on 20 April 2025 by ScegliAuto
Video tutorial
Related tutorials
Vauxhall Astra
(2009-2016 /
Astra J)
Today's instructions will show us the necessary information for disassembling and replacing the timing chain of the Opel Astra 1.4; on this type of e…
Vauxhall Astra
(2009-2016 /
Astra J)
To replace the timing chain on an Opel Astra, you must completely remove the engine block from its housing. To do this, loosen all the bolts securing…

Vauxhall Astra
(2015-2022 /
Astra K)
The operation of replacing the timing chain on the Opel Astra is carried out by lifting the car, ensuring that the front right wheel is not in contac…
Other guides you may be interested in
|
Frequently Asked QuestionsHow to Check the Oil Level on a Jeep Renegade?
To check the oil level on a Jeep Renegade, you need to open the bonnet to access the components inside the engine bay: on the lower left side of the engine block, you will find the dipstick for checking the level. This should be pulled out and thoroughly cleaned with a cloth: once cleaned, reinsert it back into its tube and pull it out immediately after. This way, you can check that the oil mark is between the minimum and maximum levels; finally, you can place the dipstick back in its tube. by ScegliAuto More videos
|

|
For advertising on this site Write to info@scegliauto.com
ScegliAuto is not responsible for any inaccuracy of the data in the lists. To report any inaccuracy or your business (if you own the business in question), please write to info@scegliauto.com
Number of seconds to generate the page: 0.340
(c) ScegliAuto 2026 - info@scegliauto.com - Privacy policy VAT number: IT01247470535 |
