
|
Do it yourself
| |||
| ||||


How to replace the control arm of the Opel Astra J
Model: Vauxhall Astra
Astra J
- Years 2009-2016
Today we will explain how to replace the control arm of the Opel Astra model J on your own. To perform the replacement, we need to lift the vehicle and remove the front wheels. Brush the fixing nut of the control arm ball joint after spraying the release agent. Using a socket wrench with a 15mm insert, loosen the fixing nut of the control arm ball joint. Remove the ABS sensor cable and use a pry bar to remove the control arm from the hub carrier. Using a socket wrench with an 18mm insert, unscrew the two fixing screws of the elbow and remove them. Remove the front fixing screw of the control arm and remove the fender rivet using a flat head screwdriver. Remove the fender and use an 18mm wrench to unscrew the front fixing screw of the control arm. After removing the arm, proceed with the replacement. Insert the control arm in the rear and align and tighten the screw with a screwdriver before inserting the front part. Attach the rivet and the ABS sensor. Tighten the control arm locking nut with a torque wrench. Mount the fender and front wheels.
Posted on 6 July 2025 by ScegliAuto
Video tutorial
Related tutorials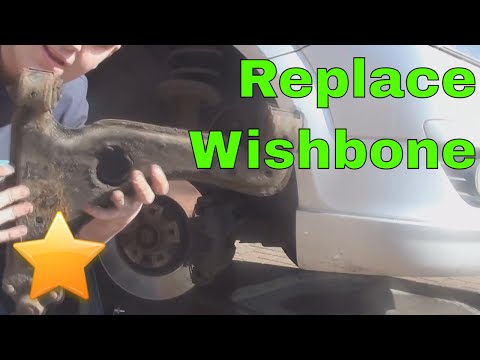
Vauxhall Astra
(2004-2010 /
Astra H)
Damage to the ball joint or the silent blocks of the front suspension wishbone causes noise, especially when driving on uneven surfaces. To replace i…
Vauxhall Astra
(2004-2010 /
Astra H)
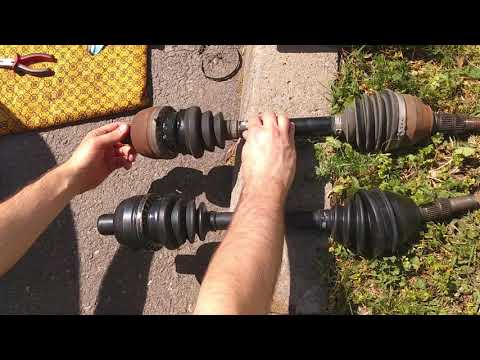
This video shows the instructions on how to remove and replace the front driveshaft of the Opel Astra H. First, lift the vehicle and remove the front…

Vauxhall Astra
(2015-2022 /
Astra K)
Below we will see the steps that will allow us to disassemble and replace the rear windshield wiper arm of the Opel Astra, along with its wiper blade…
Other guides you may be interested in
|
How to Open a Stuck Boot on the Peugeot 407?
On the Peugeot 407, the boot may become stuck, possibly due to a problem with the control button or the lock actuator. In such cases, you can perform an emergency opening by following the simple procedure shown in this tutorial. First, open the rear doors, then lower the seat back by operating the release lever. Next, go inside the boot, locate the lock, and manually operate it using a flathead screwdriver. The boot will then be free to open. by ScegliAuto More videos
|

|
For advertising on this site Write to info@scegliauto.com
ScegliAuto is not responsible for any inaccuracy of the data in the lists. To report any inaccuracy or your business (if you own the business in question), please write to info@scegliauto.com
Number of seconds to generate the page: 0.318
(c) ScegliAuto 2026 - info@scegliauto.com - Privacy policy VAT number: IT01247470535 |
