
|
Do it yourself
| |||
| ||||


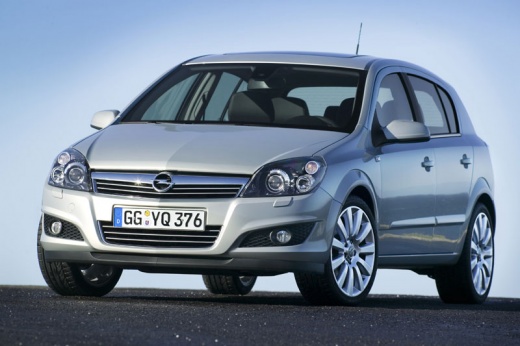
Rear Light Replacement Instructions
Model: Vauxhall Astra
Astra H
- Years:
2004, 2005, 2006, 2007, 2008, 2009, 2010
This video is currently unavailable
Open the rear hatch and remove the velcro cover that conceals the inner part directly in front of the light; then disconnect the plugs connected to it and unscrew the plastic nuts that hold it to the bodywork: at this point, you can remove the light by pulling it outwards. Unscrew the fixing screws of the bulb holder and attach it to the new light (it is advisable to replace the bulbs as a precaution). Reposition the light in its location (after cleaning it if necessary), screw in the fixing nuts from the inside, and reconnect the plugs.
Updated on 7 February 2026 by ScegliAuto
Related tutorials
Vauxhall Astra
(2015-2022 /
Astra K)
Today, discover the instructions that will allow you to remove and replace the bulbs of the rear headlamp on an Opel Astra. First, open the tailgate …

Vauxhall Astra
(2004-2010 /
Astra H)
Replacing the bulbs of the rear light of the Opel Astra H is quite simple but first requires removing the light itself; start by opening the rear hat…
Vauxhall Astra
(2009-2016 /
Astra J)
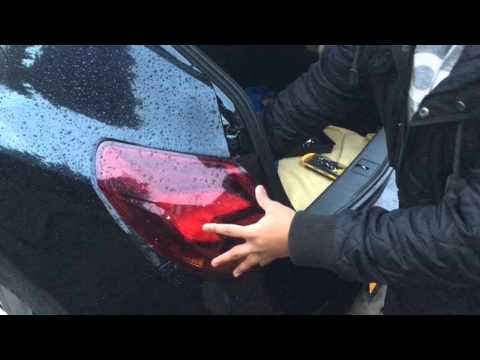
To replace the bulbs in the rear light, you will need to dismantle the light itself. It consists of two parts: one attached to the outer bodywork at …
Other guides you may be interested in |
How to Remove the Toll Tag Holder from the Car Windscreen
The toll tag holder is usually attached to the car windscreen to ensure that the toll tag functions immediately when passing through barriers. However, if you decide to remove the holder, you should follow this procedure: - Insert the toll tag into the holder; - Pull the holder inwards to detach it from the windscreen; you can use a glass scraper or a stiff plastic card to assist you; After removing the holder, it is essential to remove the adhesive from the windscreen. To remove the adhesive, we recommend using a solvent-based spray that will remove the glue without clouding the area. by ScegliAuto More videos
|
|
For advertising on this site Write to info@scegliauto.com
ScegliAuto is not responsible for any inaccuracy of the data in the lists. To report any inaccuracy or your business (if you own the business in question), please write to info@scegliauto.com
Number of seconds to generate the page: 0.026
(c) ScegliAuto 2026 - info@scegliauto.com - Privacy policy VAT number: IT01247470535 |
