
|
Do it yourself
| |||
| ||||


How to Replace the Dashboard Illumination on an Opel Corsa
Model: Vauxhall Corsa
Corsa D
- Years 2006-2014
How to replace the dashboard illumination on an Opel Corsa D. You need a basic understanding of electronics for this task. First, remove the cover from the dashboard, unscrew and disconnect the dashboard itself, which you will be working on. Carefully remove the transparent plastic, first taking off the support under the LED screen, then the support for the transparent plastic. Gently take off the needles and then the graphics. Remove the back part so that only the electrical part remains, which you will take out from the last front support using a screwdriver carefully. Now desolder the three supports of the LED screen; you will apply others of your choice. Do the same with other contacts. Now reassemble everything in reverse order, ensuring everything is put back in its place. Before reassembling everything, test the electrical connector to see the result. Refit the needles, the glass, and the cover. And here is the result: blue illumination instead of red LEDs.
Updated on 8 August 2026 by ScegliAuto
Video tutorial
Related tutorials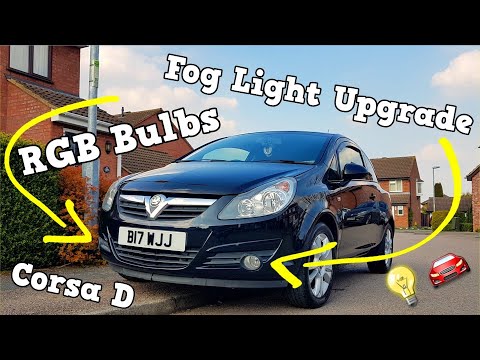
Vauxhall Corsa
(2006-2014 /
Corsa D)
In this video, you will see how to replace the bulbs with LEDs on an Opel Corsa. Remove the plastic cover at the bottom of the bumper using the appro…

Vauxhall Corsa
(2019-2026 /
Corsa F)
In the latest model of Opel Corsa, the Opel Corsa F, it is possible to personalise the display of the onboard computer to make it more suited to your…
Vauxhall Corsa
(2014-2019 /
Corsa E)
Fuses are essential for protecting and ensuring the proper functioning of the various electronic parts of the car. When one of these blows, it is imp…
Other guides you may be interested in
|
Frequently Asked QuestionsHow to Check the Oil Level on a Jeep Renegade?
To check the oil level on a Jeep Renegade, you need to open the bonnet to access the components inside the engine bay: on the lower left side of the engine block, you will find the dipstick for checking the level. This should be pulled out and thoroughly cleaned with a cloth: once cleaned, reinsert it back into its tube and pull it out immediately after. This way, you can check that the oil mark is between the minimum and maximum levels; finally, you can place the dipstick back in its tube. by ScegliAuto More videos
|
|
For advertising on this site Write to info@scegliauto.com
ScegliAuto is not responsible for any inaccuracy of the data in the lists. To report any inaccuracy or your business (if you own the business in question), please write to info@scegliauto.com
Number of seconds to generate the page: 0.589
(c) ScegliAuto 2026 - info@scegliauto.com - Privacy policy VAT number: IT01247470535 |
