
|
Do it yourself
| |||
| ||||


How to disassemble the EGR valve in the Opel Corsa 1.3 CDTI
Model: Vauxhall Corsa
Corsa D
- Years 2006-2014
Disassembling the Exhaust Gas Recirculation (EGR) valve in an Opel Corsa 1.3 CDTI requires some work, but it can be done with the right tools and following the correct procedures. The EGR valve is responsible for recirculating exhaust gases to reduce NOx emissions, but it can become clogged over time, causing performance issues and error lights on the dashboard. Tools needed: - Socket wrench set and ratchet - Torx and/or Phillips screwdriver - Pliers - EGR valve cleaner (if cleaning the valve instead of replacing it) - Work gloves - Flashlight (optional) Procedure: 1. **Preparation:** - Park the car on a flat surface and turn off the engine. - Disconnect the battery to prevent short circuits and ensure your safety during the operation. 2. **Accessing the EGR valve:** - The EGR valve is located on the front side of the engine, near the top, often connected to the intake manifold and exhaust. - You may need to remove some components for easier access, such as the engine cover or air hoses. 3. **Disconnecting electrical connectors:** - Carefully disconnect the electrical connector attached to the EGR valve. Be careful not to damage the wiring. 4. **Removing connected hoses:** - Use pliers to remove any hoses connected to the EGR valve. There may be cooling hoses or hoses carrying exhaust gases. 5. **Removing the EGR valve:** - Use the socket wrench set to remove the screws or bolts securing the EGR valve to the engine. - Once the screws are removed, carefully pull the valve to extract it from its seat. Some force may be needed if it is stuck due to carbon deposits. 6. **Cleaning or replacing the valve:** - If cleaning the valve, use a specific EGR valve cleaner to remove carbon deposits. Allow the valve to dry completely before reassembling it. - If replacing the valve, make sure the new component is compatible and all gaskets are in good condition. 7. **Reassembling the EGR valve:** - Place the clean or new valve back in its seat and screw the bolts back in with the ratchet. Make sure they are securely tightened, but do not over tighten to avoid damaging the threading. - Reconnect the hoses and electrical connector. 8. **Verification and testing:** - Reconnect the battery and start the car. - Check for leaks and ensure the engine is running properly. The engine light on the dashboard should turn off if the replacement was done correctly. 9. **Cleaning and finishing:** - Reassemble any removed covers and clean the work area.
Posted on 14 August 2024 by ScegliAuto
Video tutorial
Related tutorials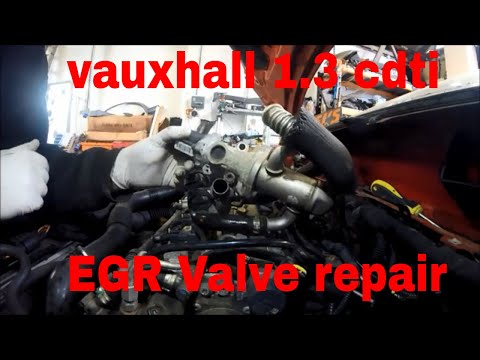
Vauxhall Corsa
(2006-2014 /
Corsa D)
To replace the EGR valve on an Opel Corsa, open the bonnet to access the components in the engine bay. The valve is located at the rear of the engine…
Vauxhall Corsa
(2006-2014 /
Corsa D)
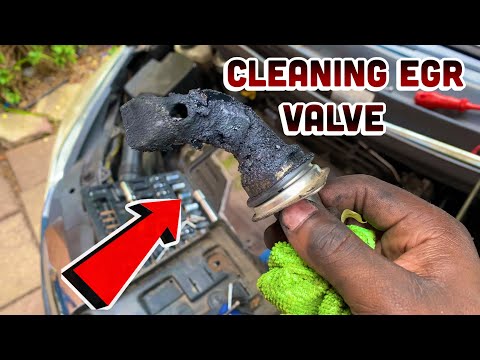
To remove the EGR valve from an Opel Corsa, open the bonnet to access the components in the engine bay. Detach the plastic cover from the top of the …
Vauxhall Corsa
(2006-2014 /
Corsa D)
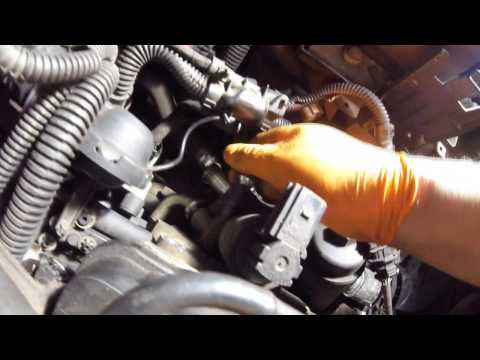
If you have issues with the EGR valve, it is best to remove and replace it. Lift the bonnet and secure it. Using a screwdriver, undo the securing bol…
Other guides you may be interested in
|
How to Check the Oil Level on a Jeep Renegade?
To check the oil level on a Jeep Renegade, you need to open the bonnet to access the components inside the engine bay: on the lower left side of the engine block, you will find the dipstick for checking the level. This should be pulled out and thoroughly cleaned with a cloth: once cleaned, reinsert it back into its tube and pull it out immediately after. This way, you can check that the oil mark is between the minimum and maximum levels; finally, you can place the dipstick back in its tube. by ScegliAuto More videos
|
|
For advertising on this site Write to info@scegliauto.com
ScegliAuto is not responsible for any inaccuracy of the data in the lists. To report any inaccuracy or your business (if you own the business in question), please write to info@scegliauto.com
Number of seconds to generate the page: 0.266
(c) ScegliAuto 2026 - info@scegliauto.com - Privacy policy VAT number: IT01247470535 |
