
|
Do it yourself
| |||
| ||||


Vauxhall Vectra - Control unitControl Unit Vauxhall Vectra (2002-2008 / vectra c, mk 3) Vauxhall Vectra (1995-2002 / Vectrab, MK 2)
How to Remove the ABS Control Unit on the Opel Vectra To replace the ABS control unit on this car model, follow the instructions and steps outlined below. After opening the bonnet, the control unit is located on …Read all… Posted on 31 July 2026 by ScegliAuto 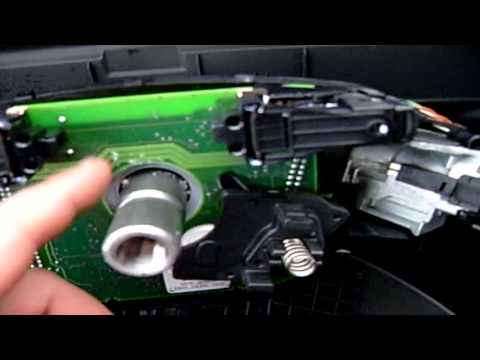 Vauxhall Vectra (2002-2008 / Vectrac, MK 3)
Instructions for Dismantling the CIM Module To access the CIM module (which controls and manages the steering wheel controls and the indicator stalk), first unscrew the fixing screws of the plastic …Read all… Posted on 7 February 2026 by ScegliAuto Control Unit Vauxhall Vectra (1995-2002 / vectra b, mk 2)
Vauxhall Vectra (1995-2002 / Vectrab, MK 2)How to Remove the ABS Control Unit on the Opel Vectra To replace the ABS control unit on this car model, follow the instructions and steps outlined below. After opening the bonnet, the control unit is located on …Read all… Posted on 31 July 2026 by ScegliAuto
Vauxhall Vectra (2002-2008 / Vectrac, MK 3)Instructions for Dismantling the CIM Module To access the CIM module (which controls and manages the steering wheel controls and the indicator stalk), first unscrew the fixing screws of the plastic …Read all… Posted on 7 February 2026 by ScegliAuto Airbag (1) Shocks (2) Air conditioning (2) Car stereo (2) Anti-roll bar (1) Air vents (1) Bushings (1) Spark plugs (1) Body (2) Control unit (2) Key (1) Timing belt (4) Air conditioner (3) Onboard computer (2) Checks and maintenance (3) Throttle body (1) Dashboard (1) Shifter boot (2) Bearing (1) Brake rotors (2) Headlight (3) Diesel particulate filter (1) Air filter (3) Cabin air filter (3) Diesel fuel filter (4) Oil filter (1) Clutch (2) Window switch (1) Accessory kit (1) Light bulb (1) Headlight bulb (5) Tail light bulb (2) Instrument panel light (1) Engine (2) Starter motor (2) Engine oil (1) Clock (2) Door trim panel (4) Front bumper (2) Brake pads (5) Shift knob (2) Fuel pump (7) Push button (2) Instrument cluster (2) Radiator (2) Heater core (4) Fuse box (17) Seat (2) Door lock (1) Brake system (1) Suspension system (2) Side mirror (4) Warning light – error code (2) (1) Service warning light (9) Windshield wipers (1) Thermostat (2) EGR valve (2) Blower motor (2) Steering wheel (1) |
How to Reset the Tyre Pressure Light on the Opel Grandland X
While driving, if you notice the tyre pressure warning light coming on, first check the actual inflation pressure of the tyres and, if necessary, restore the pressures recommended by the manufacturer. After restoring the correct pressures, you need to reset the warning light that has illuminated on the instrument cluster. To do this, locate the reset button on the lower central console. Press this button and hold it down for at least 3 seconds, after which the low pressure indication will turn off. by ScegliAuto More videos
|
|
For advertising on this site Write to info@scegliauto.com
ScegliAuto is not responsible for any inaccuracy of the data in the lists. To report any inaccuracy or your business (if you own the business in question), please write to info@scegliauto.com
Number of seconds to generate the page: 0.007
(c) ScegliAuto 2026 - info@scegliauto.com - Privacy policy VAT number: IT01247470535 |
