
|
Do it yourself
| |||
| ||||


Guide to Replacing the Fuel Level Indicator
Model: Peugeot 206
MK 1
- Years 1998-2012
When the fuel gauge needle does not move, you can proceed with a replacement. The repair is technically possible as a DIY task, as it is essentially a potentiometer, similar to the volume knob on a radio, but you need to be skilled with your hands. Disassemble everything, check and repair the fixed and movable contacts, as well as the wires. Check the float and its values in the manual, as it may be necessary to recalibrate the gauge if it is not functioning correctly. After cleaning the connector contacts, it may also be necessary to re-solder the connections at the control unit.
Updated on 12 February 2026 by ScegliAuto
Video tutorial
Related tutorials
Peugeot 206
(1998-2012 /
MK 1)
The fuse box is located at the bottom of the dashboard, to the left of the steering column. To open the box, use a coin to lever and detach the cover…
Peugeot 206
(1998-2012 /
MK 1)
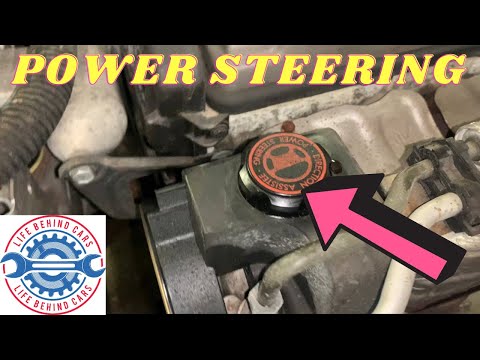
This guide will provide useful information for checking and replacing the power steering oil or reservoir on the Peugeot 206. First, open the bonnet …
Peugeot 206
(1998-2012 /
MK 1)
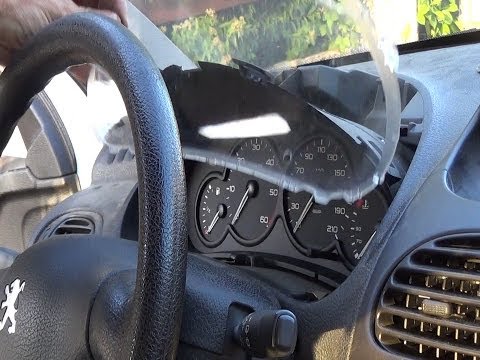
If the fuel level gauge needle does not indicate the correct position corresponding to the actual fuel level in the tank, for example, if the tank is…
Other guides you may be interested in
|
Frequently Asked QuestionsHow to Remove the Front Bumper of the Citroën C4 Picasso?
To remove the front bumper of the Citroën C4 Picasso, you need to take out all the rivets and screws that secure the piece to its housing: these screws are located inside the wheel arches of the front wheels and at the central upper part of the bumper itself. Once all these fastening elements have been removed, you can detach the bumper from its seat by disconnecting the connectors inside and then insert the new replacement part. The new part can then be secured and connected properly, ensuring it is correctly fixed in place. by ScegliAuto More videos
|
|
For advertising on this site Write to info@scegliauto.com
ScegliAuto is not responsible for any inaccuracy of the data in the lists. To report any inaccuracy or your business (if you own the business in question), please write to info@scegliauto.com
Number of seconds to generate the page: 0.147
(c) ScegliAuto 2026 - info@scegliauto.com - Privacy policy VAT number: IT01247470535 |
