
|
Do it yourself
| |||
| ||||


Installing the LED Bulb in the Rear Indicator on a Peugeot 208
Model: Peugeot 208
A9, MK 1
- Years 2012-2019
To replace the rear indicators on a Peugeot 208, open the boot where you will find a small shaped compartment at the top of the upholstery, which can be easily removed as it is held in place by pressure. From here, access the lamp unit by unscrewing a nut with a 10 mm socket. Push from behind, applying moderate pressure to partially release the optical unit. It is partially held in place by two clips that must be firmly disengaged, starting with the upper one, to allow the optical unit to exit its housing. Now disconnect the electrical connector and leave it hanging in its compartment. Turn the optical unit towards you: you will see a black butterfly which you need to turn an eighth of a turn to extract the indicator bulb holder, from which you can then remove the bayonet bulb by applying light pressure and turning an eighth of a turn. To reinsert the bulb - if you wish, you can use an LED for a much better result - proceed in reverse. You must then mirror the process on the other side to install the bulb in the other optical unit.
Updated on 28 June 2026 by ScegliAuto
Video tutorial
Related tutorials
Peugeot 208
(2012-2019 /
A9, MK 1)
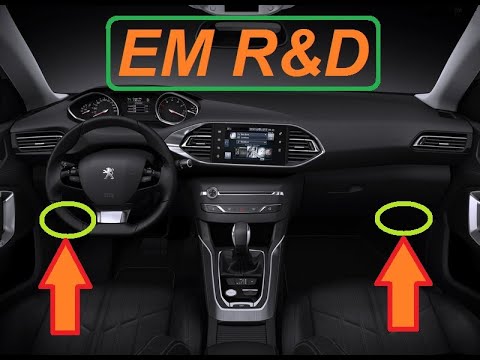
If you want to give your car a more modern and appealing look, installing LED lights is certainly a great solution; xenon is now outdated, and moreov…
Peugeot 208
(2012-2019 /
A9, MK 1)
In this video tutorial, you will learn how to remove and replace the courtesy or interior lights of the vehicle (specifically those located at the bo…
Peugeot 208
(2012-2019 /
A9, MK 1)
If you want to improve visibility inside the boot compartment, it is recommended to replace the original incandescent bulb with a LED type (T10 fitti…
Other guides you may be interested in |
Fuses Location and Diagram for the Volkswagen Crafter
In this guide, we will look at the location of the fuse boxes and how to find their diagram for the Volkswagen Crafter. First, get inside the vehicle and start by removing the plastic cover found under the steering wheel, to access the internal fuse box; you will find another fuse box in the engine compartment by removing the plastic cover located next to the battery. At this point, use the owner's manual to find the fuse diagram, which will allow you to identify and replace any blown fuses with new ones! by ScegliAuto More videos
|

|
For advertising on this site Write to info@scegliauto.com
ScegliAuto is not responsible for any inaccuracy of the data in the lists. To report any inaccuracy or your business (if you own the business in question), please write to info@scegliauto.com
Number of seconds to generate the page: 0.054
(c) ScegliAuto 2026 - info@scegliauto.com - Privacy policy VAT number: IT01247470535 |
