
|
Do it yourself
| |||
| ||||


How to Change the Cabin Filter on the Peugeot Expert
Model: Peugeot Partner Tepee
B9
- Years 2008-2018
Let’s see how to change the cabin air filter on the Peugeot Partner: contrary to what the YouTuber says (and it is clearly shown in the video), the filter is located on the passenger side, under the glove compartment. You need to remove the panel located underneath on the left: at this point, you can work on the panel under the glove compartment and remove the three plastic screws holding it in place. Underneath, you will find another clip, which when released, removes a small panel. This exposes a large white compartment where you can see a black panel, which is the cover of our filter, opened via a lever. Here you will find two filters, one upper and one lower; the space is very tight, so it won’t be easy to remove them, but it will be even more complex to reinsert them. Clean the compartment thoroughly from dust and dirt with some compressed air, then replace the filters, starting with the lower one, then the upper one. Finally, replace the black cover and then reinstall all the plastics you removed in reverse order.
Updated on 1 July 2026 by ScegliAuto
Video tutorial
Related tutorials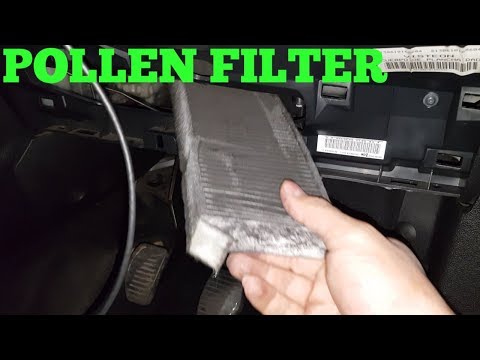
Peugeot Partner Tepee
(2008-2018 /
B9)
Do you want to replace the pollen filter on a Peugeot Partner? Open the door and remove the cover plastics to change the filter. Use a screwdriver to…
Peugeot Partner Tepee
(2008-2018 /
B9)
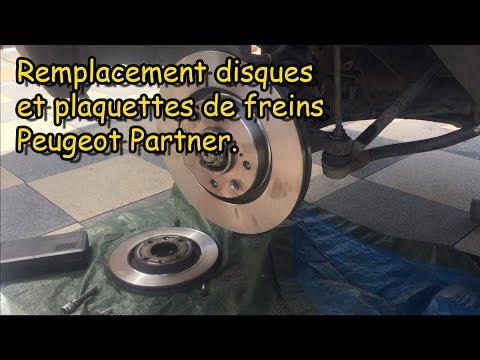
Learn how to replace the rear brake pads on a Peugeot Expert. First, lift the vehicle on a column jack to the desired height, then remove the wheel (…

Peugeot Partner Tepee
(2008-2018 /
B9)
This video shows how to change the cabin air filter on a Peugeot Partner MK2. The cabin filter is located in the footwell on the right side, so in th…
Other guides you may be interested in
|
How to Set the Clock on the Opel Zafira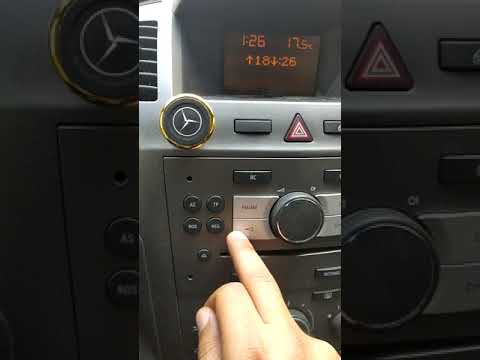
Setting the clock to the current Italian time on an Opel Zafira model B is a very simple operation, also made easier by our short instructional video. The first step is to turn on the instrument panel and then press the SETTING button located on the central dashboard. Once inside the menu, use the buttons to navigate to the clock setting. Adjust the hours and minutes and restart the instrument panel. If the clock does not update, it may be necessary to diagnose the radio or the vehicle's control unit. by ScegliAuto More videos
|

|
For advertising on this site Write to info@scegliauto.com
ScegliAuto is not responsible for any inaccuracy of the data in the lists. To report any inaccuracy or your business (if you own the business in question), please write to info@scegliauto.com
Number of seconds to generate the page: 0.200
(c) ScegliAuto 2026 - info@scegliauto.com - Privacy policy VAT number: IT01247470535 |
