
|
Do it yourself
| |||
| ||||


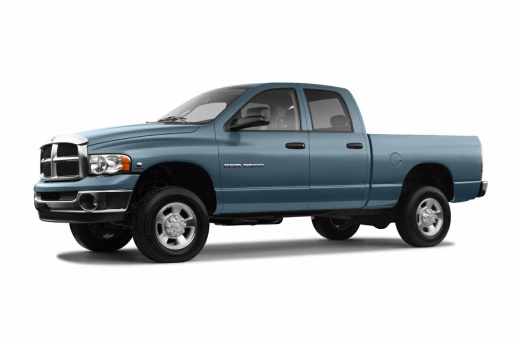
How to Replace the Axle Assembly on a Dodge RAM
Model: RAM 2500
D1, MK 3, DR, DH, DC, DM
- Years:
2002, 2003, 2004, 2005, 2006, 2007, 2008, 2009
Video tutorial
In this video tutorial, you can see how to replace the axle assembly on a Dodge RAM by following simple steps. The first thing to do is position the vehicle on a lift to raise it for safe working. At this point, remove the wheel by unscrewing all the nuts, preferably using an impact wrench. Once the wheel is off, you can see the caliper. Now, remove the two mounting bolts before taking off the caliper. Once the bolts are unscrewed, you can remove the caliper by hand. At this point, you can also remove the brake rotor. Now it's time to remove the outer tie rod and the locking clip; then remove the upper ball joint nut and then the lower one. Now remove the axle from the knuckle while simultaneously removing the lower ball joint. Next, you need to take the axle out of the front differential. At this point, you have freed the axle assembly.
Updated on 17 May 2026 by ScegliAuto
Related tutorials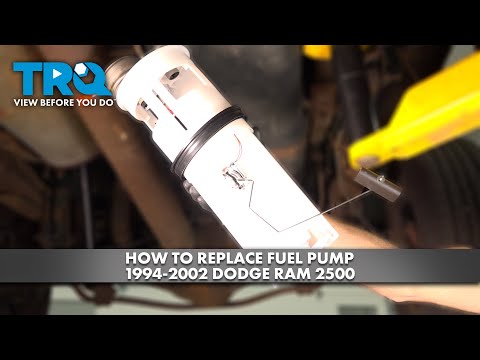
RAM 2500
(2002-2009 /
D1, MK 3, DR, DH, DC, DM)
Today's procedure will show you how to remove and replace the fuel pump on the Dodge RAM 2500, following the instructions below. First, lift the vehi…
RAM 2500
(1994-2001 /
BE, BR, MK 2)
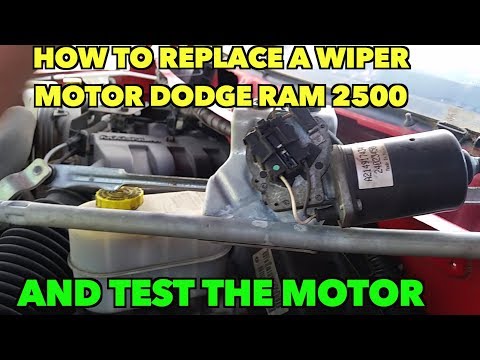
In this video tutorial, you will learn how to remove and replace the windshield wiper motor of the Dodge RAM 2500 by following these simple steps. Fi…
RAM 2500
(2009-2019 /
MK 4, DJ, DS, D2)
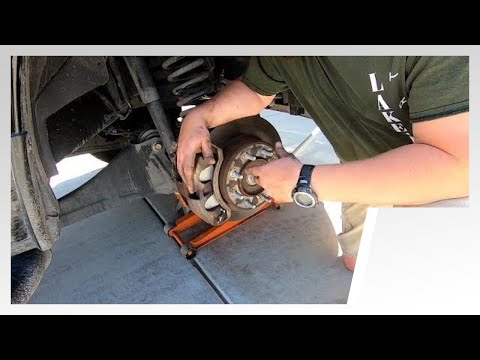
This brief guide shows how to remove and replace the front brake pads on a fourth-generation Dodge RAM 2500 in simple and quick steps. First, lift th…
Other guides you may be interested in
|
How to Reset the AdBlue Warning Light on a Peugeot Boxer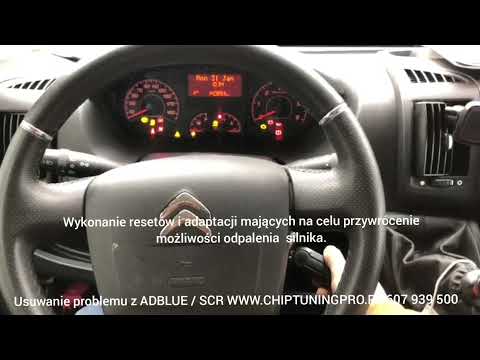
To reset the AdBlue system on a 2018 Peugeot Boxer, follow these steps: Start the engine and ensure the vehicle is parked in a well-ventilated area. Locate the "MENU" button on the dashboard or steering wheel controls. Press and hold the "MENU" button until the menu options appear on the display. Use the arrow buttons or scroll wheel to access the "Vehicle Settings" or "Settings" menu. Select the "AdBlue" or "AdBlue System" option. Look for the "Recharge" or "Reset" option in the AdBlue menu. Once you find the reset option, select it and confirm your choice when prompted. The system will be reset, and a confirmation message may appear on the display. Turn off the engine and wait a few seconds. Restart the engine and check that the AdBlue system has been reset. by ScegliAuto More videos
|
|
For advertising on this site Write to info@scegliauto.com
ScegliAuto is not responsible for any inaccuracy of the data in the lists. To report any inaccuracy or your business (if you own the business in question), please write to info@scegliauto.com
Number of seconds to generate the page: 0.019
(c) ScegliAuto 2026 - info@scegliauto.com - Privacy policy VAT number: IT01247470535 |
