
|
Do it yourself
| |||
| ||||


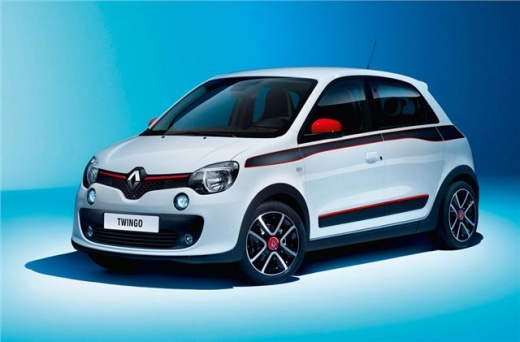
Tyre Inflation Kit Location on Renault Twingo MK3
Model: Renault Twingo
Twingo III, Twingo 3
- Years:
2014, 2015, 2016, 2017, 2018, 2019, 2020, 2021, 2022, 2023, 2024
Video tutorial
Let's see where the tyre inflation kit is located on the Renault Twingo III. On this vehicle, as with most modern cars, there is no spare wheel, not even as an optional extra, but a kit for inflation in case of a puncture. However, in most cases, this is located in the boot. This is not the case with the Twingo, which is why it is important to know where it is for a quick resolution. It is actually located in the passenger footwell, under the mat. You will need to remove two retaining screws found at the top of the compartment. This will allow you to remove a sort of cover, beneath which is everything necessary to inflate the tyre.
Updated on 27 October 2026 by ScegliAuto
Related tutorials
Renault Twingo
(2014-2024 /
Twingo III, Twingo 3)
The new generation Renault Twingo 3 does not have a jack or spare wheel, not even as an additional accessory. However, the tyre inflation kit is loca…

Renault Twingo
(2014-2024 /
Twingo III, Twingo 3)
The inflation kit of the Renault Twingo is useful in emergency situations to repair a damaged tire. To use the kit, you must pull over the vehicle to…

Renault Twingo
(2014-2024 /
Twingo III, Twingo 3)
In this video, see how to use the inflation kit on the Renault Twingo Electric, provided the punctures are not located on the sidewall. The inflation…
Other guides you may be interested in
|
How to Remove the Rear Seat of a Hyundai Tucson?
To remove the rear seat of a Hyundai Tucson, follow these steps. Start by moving the front seats to their most forward position to gain space. Next, locate the release lever on the underside of the rear seat, near the floor. Press this lever down while pulling the seat upwards to unlock it from the anchor pins. Once unlocked, tilt the seat upwards and forwards to remove it from its position. Repeat this process for both sides of the rear seat. Be careful of any electrical cables or components that may be connected to the seat during removal. Once the rear seat is removed, the disassembly is complete. by ScegliAuto More videos
|
|
For advertising on this site Write to info@scegliauto.com
ScegliAuto is not responsible for any inaccuracy of the data in the lists. To report any inaccuracy or your business (if you own the business in question), please write to info@scegliauto.com
Number of seconds to generate the page: 0.016
(c) ScegliAuto 2026 - info@scegliauto.com - Privacy policy VAT number: IT01247470535 |
