
|
Do it yourself
| |||
| ||||


How to remove the ventilation switches on the Renault Modus
Model: Renault Modus
MK 1
- Years 2004-2013
In this video we can see how to remove the ventilation controls of the Renault Modus: it is an operation that must be done after removing the radio, otherwise we do not have the space to remove the control unit, which needs to rotate in the space left free by the radio. The air conditioning controls remain, which can be easily removed by unscrewing the side screws, and then rotate the controls inside the compartment to remove them, disconnecting the electrical connectors. If necessary, take a photo to make sure to reattach all the connectors in the right place: this replacement part can be easily found used online at prices ranging from 45 to 60 euros; since they are used parts, we cannot provide specific purchasing references.
Posted on 12 November 2024 by ScegliAuto
This video is currently unavailable
Related tutorials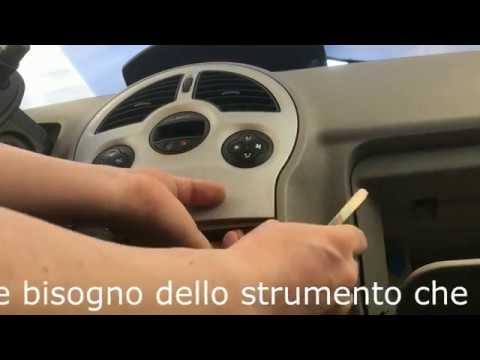
Renault Modus
(2004-2013 /
MK 1)
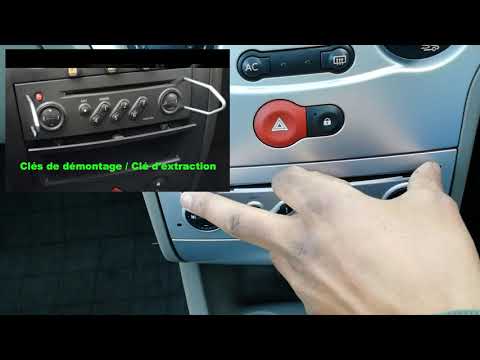
Before you can start, sit in the driver's seat of your Renault Modus. Begin by inserting the extraction keys into the front holes of the stereo. Then…
Renault Modus
(2004-2013 /
MK 1)
Before you begin, sit in the driver's seat of your Renault Modus. Start by activating the instrument cluster and the onboard computer. Then, press an…

Renault Modus
(2004-2013 /
MK 1)
In this video we can see how to change the air filter of the Renault Modus: we start by opening the front hood, and unscrewing the plastic grille loc…
Other guides you may be interested in
|
How to Bleed the Clutch on a Renault Clio?
To bleed the clutch on a Renault Clio, open the bonnet to access the components located in the engine bay: here, you will need to undo the screws that secure the battery in its housing, the intake manifold, and the coolant reservoir. This will allow you to locate the pipe through which the brake fluid flows: by inserting the other end of the pipe into a container, you can press the clutch pedal to expel all the fluid until it fills the container. by ScegliAuto More videos
|
|
For advertising on this site Write to info@scegliauto.com
ScegliAuto is not responsible for any inaccuracy of the data in the lists. To report any inaccuracy or your business (if you own the business in question), please write to info@scegliauto.com
Number of seconds to generate the page: 0.586
(c) ScegliAuto 2026 - info@scegliauto.com - Privacy policy VAT number: IT01247470535 |
