
|
Do it yourself
| |||
| ||||



How to permanently deactivate the start&stop system of the Renault Scenic 4
Model: Renault Scenic
Scenic IV, Scenic 4, MK IV, MK 4
- Years:
2016, 2017, 2018, 2019, 2020, 2021, 2022
Video tutorial
Today we will explain how to permanently deactivate the start&stop system on Renault group vehicles, specifically the Renault Scenic 4. To perform this operation, we need to download the ddt program on our computer and purchase a remote communication cable that must be connected to the OBD socket. We open the program on the computer and connect the cable to the OBD port located under the dashboard of the vehicle. We turn on the instrument panel and press the brake pedal while putting the gear in mode in order to keep the instrument panel always active. We connect the socket and start modifying the software. We select the vehicle model and then the "ECU" option, with the cursor we select the "B4" option and then set the "battery group" option. From the battery configuration values table, we select the "start&stop" option and change the value from zero to one, send the command and press the power button twice. A green light will appear on the instrument panel indicating the deactivation of the system. We turn off the instrument panel and disconnect the OBD socket.
Posted on 19 March 2025 by ScegliAuto
Related tutorials
Renault Scenic
(2009-2015 /
MK III, Scenic III, Scenic 3, MK 3)
In this tutorial we can see how to deactivate the Start & Stop system in the Renault Scenic, an extremely simple and quick operation to be carried ou…

Renault Scenic
(2009-2015 /
MK III, Scenic III, Scenic 3, MK 3)
The battery of a car equipped with a start and stop device, as in the case of the Renault Scenic 3, is replaced in exactly the same way as traditiona…
Renault Scenic
(2003-2009 /
Scenic 2, MK 2)
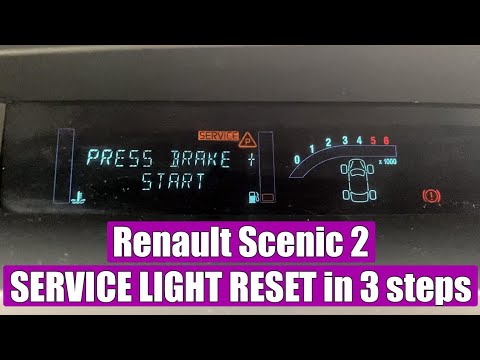
Resetting the service light on your Renault Scenic is very simple and requires only three steps. First, insert the card and press the "Start/Stop" bu…
Other guides you may be interested in
|
How to Remove the Rear Seat of a Hyundai Tucson?
To remove the rear seat of a Hyundai Tucson, follow these steps. Start by moving the front seats to their most forward position to gain space. Next, locate the release lever on the underside of the rear seat, near the floor. Press this lever down while pulling the seat upwards to unlock it from the anchor pins. Once unlocked, tilt the seat upwards and forwards to remove it from its position. Repeat this process for both sides of the rear seat. Be careful of any electrical cables or components that may be connected to the seat during removal. Once the rear seat is removed, the disassembly is complete. by ScegliAuto More videos
|
|
For advertising on this site Write to info@scegliauto.com
ScegliAuto is not responsible for any inaccuracy of the data in the lists. To report any inaccuracy or your business (if you own the business in question), please write to info@scegliauto.com
Number of seconds to generate the page: 0.050
(c) ScegliAuto 2026 - info@scegliauto.com - Privacy policy VAT number: IT01247470535 |
