
|
Do it yourself
| |||
| ||||


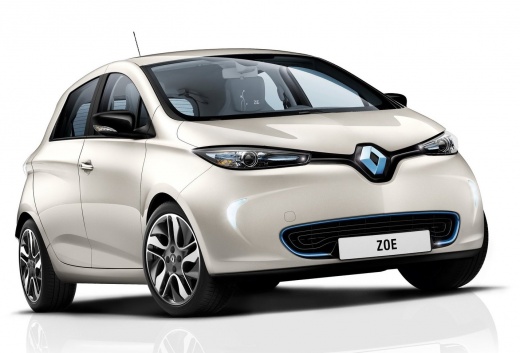
The inflation kit of the Renault Zoe
Model: Renault Zoe
MK 1
- Years:
2013, 2014, 2015, 2016, 2017, 2018, 2019, 2020, 2021, 2022, 2023, 2024
Video tutorial
In this video we will see how to use the inflation kit of the Renault Zoe: first of all, we park safely, turn on the hazard lights and turn off the engine. We connect the flexible hose to the repair canister (with the bayonet screw or quick coupling, depending on the model). It is advisable to use gloves, as the substance contained in the canister is irritating to the skin. We connect the cable to the car's 12 Volt socket, without using extensions. Start the engine and turn on the compressor, keeping in mind the values ??indicated on the plate on the driver's door frame. If the desired pressure is not reached after 15 minutes, then we must seek assistance. If we have inflated too much, press the deflation button on the compressor. We then drive a short distance and then recheck the pressure: if it is less than 1.3 bar, then the tire is not repairable; if it is higher than this value, repeat the inflation operation. The maximum speed of the repaired tire is 80 km/h, and it can be used for a maximum of 48 hours. After using the kit, we must replace the canister.
Posted on 1 August 2025 by ScegliAuto
Related tutorials
Renault Zoe
(2013-2024 /
MK 1)
If you own a Renault Zoe and want to locate the OBD port, carefully read the following guide and follow all the steps described. Once inside the cabi…

Renault Zoe
(2013-2024 /
MK 1)
The new Renault Zoe has increased its range to nearly 248 miles, with the ability to recover 80% of the charge in half an hour. The new motor allows …

Renault Zoe
(2013-2024 /
MK 1)
To clear the warning light, an important requirement must be met: the tyre pressures of all four tyres must be at the manufacturer's recommended valu…
Other guides you may be interested in
|
How to Remove the Rear Seat of a Hyundai Tucson?
To remove the rear seat of a Hyundai Tucson, follow these steps. Start by moving the front seats to their most forward position to gain space. Next, locate the release lever on the underside of the rear seat, near the floor. Press this lever down while pulling the seat upwards to unlock it from the anchor pins. Once unlocked, tilt the seat upwards and forwards to remove it from its position. Repeat this process for both sides of the rear seat. Be careful of any electrical cables or components that may be connected to the seat during removal. Once the rear seat is removed, the disassembly is complete. by ScegliAuto More videos
|
|
For advertising on this site Write to info@scegliauto.com
ScegliAuto is not responsible for any inaccuracy of the data in the lists. To report any inaccuracy or your business (if you own the business in question), please write to info@scegliauto.com
Number of seconds to generate the page: 0.018
(c) ScegliAuto 2026 - info@scegliauto.com - Privacy policy VAT number: IT01247470535 |
