
|
Do it yourself
| |||
| ||||


Interiors of the Renault Zoe [Electric]
Model: Renault Zoe
MK 1
- Years 2013-2024
This video showcases the interior layout of the new electric car launched by Renault. Featuring electric mirror adjustment upon unlocking the door via remote, the Zoe presents an innovative cabin. The materials used and the arrangement of accessories provide a comfortable and warm feel. The colour display behind the steering wheel is very clear and customisable. There is also a display for the onboard computer. The computer has an intuitive interface (inspired by smartphone systems), a simple gear lever with a modern design, and an intelligent electric handbrake. Additionally, there is the ability to wirelessly charge smartphones, and it is possible to connect them via 4 USB ports. Finally, the space organisation makes the cabin quite spacious and comfortable.
Updated on 11 March 2026 by ScegliAuto
This video is currently unavailable
Related tutorials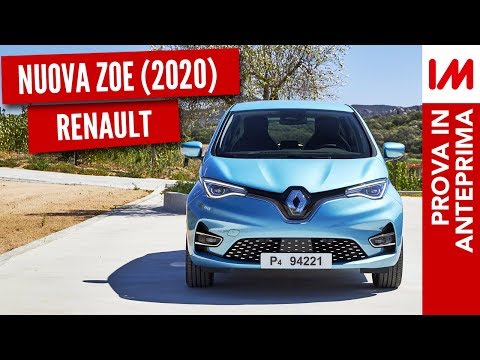
Renault Zoe
(2013-2024 /
MK 1)
The new Renault Zoe has increased its range to nearly 248 miles, with the ability to recover 80% of the charge in half an hour. The new motor allows …
![Renault Zoe 100% Electric! [Electric]](http://i4.ytimg.com/vi/x9GD8dZQ3rs/hqdefault.jpg)
Renault Zoe
(2013-2024 /
MK 1)
In this video tutorial, we will look at the Renault Zoe. It adds 16 horsepower compared to the previous version for a total of 108 (reaches a top spe…
Renault Zoe
(2013-2024 /
MK 1)
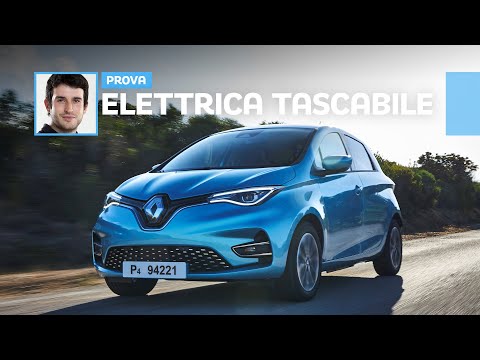
The highly anticipated new Renault Zoe has arrived, marking the third generation that offers a more powerful and larger lithium-ion battery: the moto…
Other guides you may be interested in
|
How to reset the tyre pressure warning light on the Suzuki Jimny?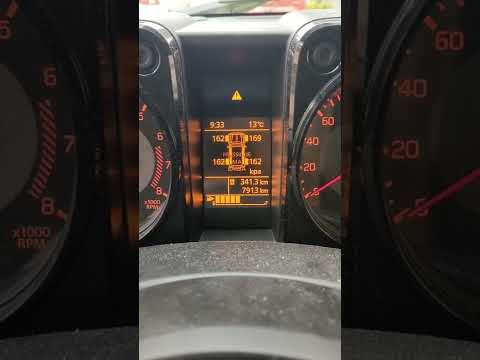
To reset the tyre pressure warning light on the Suzuki Jimny, first inflate the tyres to the pressure value indicated on the corresponding sticker: this is located at the bottom of the driver's door pillar. Once the tyres are inflated, insert the ignition key and turn on the instrument panel: select the screen that indicates the tyre pressures, checking that the values change. After a few seconds, the tyre pressure warning light will automatically turn off. by ScegliAuto More videos
|
|
For advertising on this site Write to info@scegliauto.com
ScegliAuto is not responsible for any inaccuracy of the data in the lists. To report any inaccuracy or your business (if you own the business in question), please write to info@scegliauto.com
Number of seconds to generate the page: 0.961
(c) ScegliAuto 2026 - info@scegliauto.com - Privacy policy VAT number: IT01247470535 |
