
|
Do it yourself
| |||
| ||||


How to replace the light switch on a Renault Clio
Model: Renault Clio
MK 3, Clio 3, Clio III
- Years 2005-2013
How to replace the light switch on a Renault Clio? Before disassembling the car steering wheel, we disconnect the battery supply terminals. Using a screwdriver and suitable insert, unscrew the steering wheel cover plastics; disassemble the airbag by unscrewing the screws present. Once the airbag has been removed, disconnect the power supply terminals, immediately unscrew the central torx pin of the steering wheel and disconnect the power supply terminals (operation to be carried out if required). We extract the light switch from the steering rod. To reassemble everything, let's proceed backwards.
Posted on 14 February 2020 by ScegliAuto
This video is currently unavailable
Related tutorials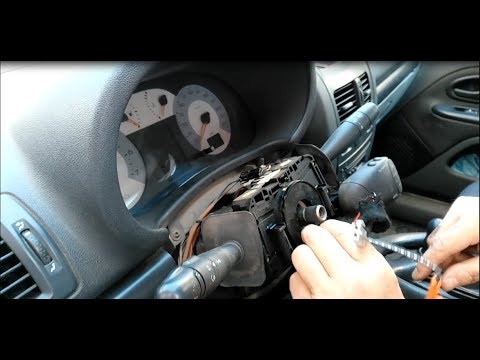
Renault Clio
(2005-2013 /
MK 3, Clio 3, Clio III)
How to remove the steering wheel of a Renault Clio with the indicator stalk? Before removing the steering wheel, disconnect the battery power cables.…

Renault Clio
(2012-2019 /
MK 4, Clio 4, Clio IV)
In this video we will see the steps to take to replace the light switch in the Renault Clio IV series. The procedure is not very complicated but requ…
Renault Clio
(1998-2005 /
Clio 2, MK 2)
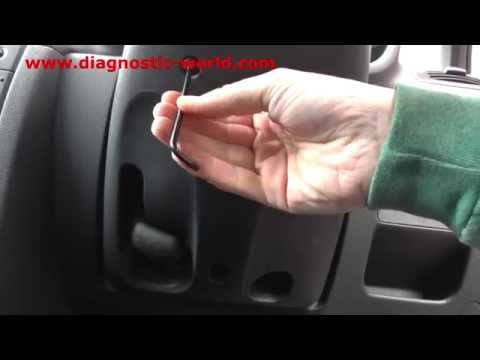
How do you remove the indicator stalk from a Renault Clio? This guide will show you how to proceed with the disassembly. Before removing the car's st…
Other guides you may be interested in
|
How to Replace the Engine Air Filter on a Volkswagen Polo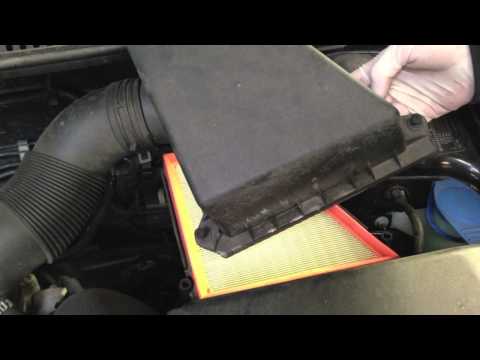
Remove the engine air filter from a Volkswagen Polo: open the car door, pull up the engine compartment release lever located at the bottom left of the dashboard and lift the front bonnet, securing it with the prop rod. Remove the engine soundproofing panel (if necessary), then open the air box (unscrew the securing screws), remove the cover of the filter box and take out the engine air filter. Insert a new filter into the dedicated housing (ensuring it fits snugly around the edges). Finally, refit the air box cover and tighten the screws. Close the front bonnet after maintenance. by ScegliAuto More videos
|

|
For advertising on this site Write to info@scegliauto.com
ScegliAuto is not responsible for any inaccuracy of the data in the lists. To report any inaccuracy or your business (if you own the business in question), please write to info@scegliauto.com
Number of seconds to generate the page: 0.132
(c) ScegliAuto 2026 - info@scegliauto.com - Privacy policy VAT number: IT01247470535 |