
|
Do it yourself
| |||
| ||||


Instructions for EGR Valve Replacement
Model: Renault Modus
MK 1
- Years 2004-2013
First, remove the plastic cover located under the windscreen (both the upper grille and the lower support): the EGR valve is located at the rear of the engine. To facilitate its removal, it is necessary to detach the intake duct; then disconnect the wiring and unscrew the fixing bolts of the valve from the exhaust manifold, first removing the protective plate and then the gasket. Before installing the new valve, it is advisable to disassemble and thoroughly clean the exhaust manifold: only after this operation proceed with the installation of the new valve (a refurbished one can also be purchased).
After installation, it may be necessary to initialise the EGR system with a diagnostic tool.
Updated on 5 February 2026 by ScegliAuto
This video is currently unavailable
Related tutorials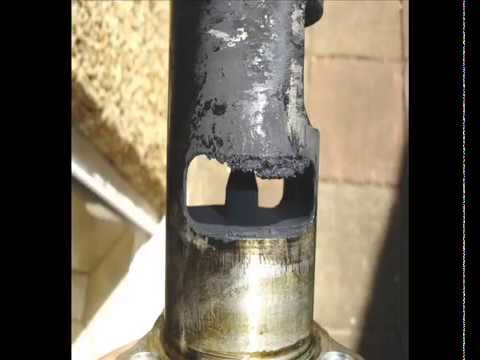
Renault Modus
(2004-2013 /
MK 1)
Periodic cleaning of this valve helps reduce emissions. The recirculation of exhaust gases (in internal combustion engines) involves circulating a "s…

Renault Modus
(2004-2013 /
MK 1)
Regularly replacing the fuel filter is a simple operation that should be done frequently to maintain optimal performance. The filter is located under…
Renault Modus
(2004-2013 /
MK 1)
This guide provides the necessary instructions to remove and replace the cabin air filter of the Renault Modus. First, get into the vehicle on the pa…
Other guides you may be interested in
|
How to Replace the Remote Battery for the Volvo XC40?
In this tutorial, you will see how to replace the battery in the remote for the Volvo XC40, a very simple and quick operation. For this, you will need a replacement battery of type CR2032 and possibly a small flathead screwdriver. First, remove the front cover by pressing the button on the metal ring, then locate the second button, press it as well, and remove the opposite cover. Next, open the circular cap, take out the old battery, and insert the new one in the opposite direction. Finally, reassemble everything. by ScegliAuto More videos
|
|
For advertising on this site Write to info@scegliauto.com
ScegliAuto is not responsible for any inaccuracy of the data in the lists. To report any inaccuracy or your business (if you own the business in question), please write to info@scegliauto.com
Number of seconds to generate the page: 0.079
(c) ScegliAuto 2026 - info@scegliauto.com - Privacy policy VAT number: IT01247470535 |
