
|
Do it yourself
| |||
| ||||


How to remove the instrument cluster of a Renault Clio
Model: Renault Clio
Clio 3, MK 3, Clio III
- Years 2005-2013
Before starting, we will have to sit in the driver's seat of our Renault Clio. So let's start by disengaging and removing the instrument panel frame, leveraging it with a thin but resistant tool. After that, we will have to go and unclip the lower clips that secure the instrument panel to the dashboard. By doing so, we will have cleared the instrument cluster itself. We then proceed by going to disengage it and remove it from its seat, and then disconnect the various electrical connectors. When we have completed this step, we will have successfully completed the disassembly.
Posted on 15 June 2021 by ScegliAuto
Video tutorial
Related tutorials
Renault Clio
(2005-2013 /
Clio 3, MK 3, Clio III)
How to disassemble the instrument cluster on a Renault Clio? Follow these steps for proper removal: use a plastic lever to remove the instrument clus…
Renault Clio
(2005-2013 /
Clio 3, MK 3, Clio III)
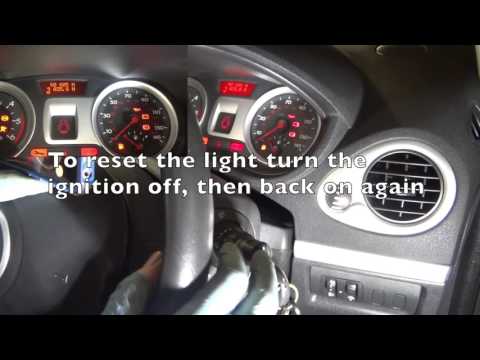
How to reset the service warning light on Renault Clio? Let's see the maintenance reset. We turn on the instrument panel of the car, use the button l…
Renault Clio
(2019-2026 /
Clio 5, Clio V)
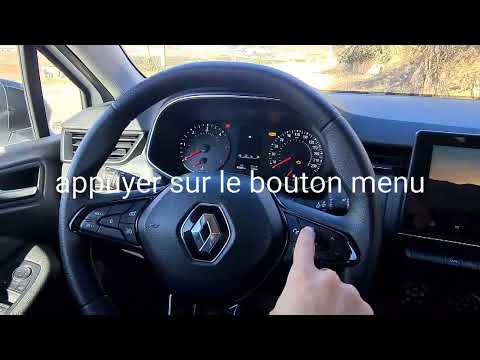
To reset the Renault Clio 5 service we start by turning on the instrument panel (do not turn on the car engine), press the menu button on the right s…
Other guides you may be interested in
|
How to Remove an EGR Valve from a Land Rover Freelander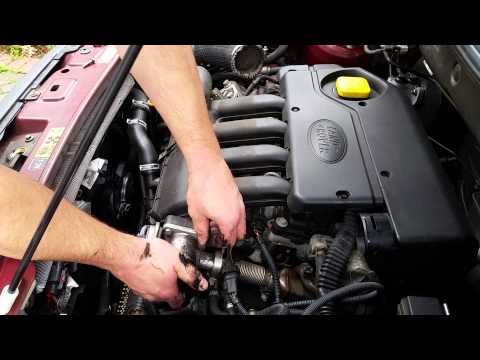
This video shows how to remove an EGR valve from a Land Rover Freelander. Lift the bonnet and secure it, then use a screwdriver to unscrew the locking pins of the ventilation pipe, removing the piece from the engine bay. Start unscrewing the fixing pins of the EGR valve as shown in the video. Once the piece is removed from its seat, unscrew the screws present on it with a screwdriver. Disconnect the power connectors from the valve, and remove it from the engine bay. Once the piece is removed, install the new EGR valve in the engine bay with the associated parts. Finally, reassemble the ventilation pipe in the engine bay after cleaning it of any dirt and deposits. by ScegliAuto More videos
|

|
For advertising on this site Write to info@scegliauto.com
ScegliAuto is not responsible for any inaccuracy of the data in the lists. To report any inaccuracy or your business (if you own the business in question), please write to info@scegliauto.com
Number of seconds to generate the page: 0.073
(c) ScegliAuto 2026 - info@scegliauto.com - Privacy policy VAT number: IT01247470535 |