
|
Do it yourself
| |||
| ||||


Replacing the Valve Cover Gasket
Model: Renault Clio
MK 2, Clio 2
- Years:
1998, 1999, 2000, 2001, 2002, 2003, 2004, 2005
Video tutorial
Disconnect all hoses from the engine cover, including the air intake ducts. Unscrew the bolts that secure the cover to the valve cover and remove it. At this point, remove the valve cover by taking off the nuts from the perimeter bolts on the cylinder head and those from the engine support located at the far right of the head. To perform this last operation, ensure the engine is supported using a hoist, and to distribute the load evenly, place a board between the engine base and the hoist. Also, unscrew the bolts located inside the valve cover. Disconnect the connectors on the sensors located on the air filter cover, and the cover can then be removed. Carefully clean the surface where the gasket sits, which needs to be replaced. The seat for this gasket is on the valve cover: remove the old gasket and clean the seat. Once the gasket is replaced, apply a suitable adhesive resin to the surface where the gasket will adhere and refit the valve cover. When refitting the cover, remember to secure the engine support only after tightening the other bolts of the cover, and only then remove the hoist supporting the engine. Finally, refit the engine cover, reconnecting hoses and connectors.
Updated on 8 February 2026 by ScegliAuto
Related tutorials
Renault Clio
(2005-2013 /
Clio 3, MK 3, Clio III)
Synchronising or timing an engine means ensuring that there is synchronisation between the positions of the valves (intake and exhaust) and those of …

Renault Clio
(1998-2005 /
MK 2, Clio 2)
In order to adjust the valves on the Renault Clio, you need to open the hood so that you can access the components located inside the engine compartm…

Renault Clio
(1998-2005 /
MK 2, Clio 2)
To adjust the valves on the Renault Clio, open the bonnet to access the components inside the engine bay. This will allow you to loosen the screws se…
Other guides you may be interested in
|
Frequently Asked QuestionsHow to Reset the AdBlue Warning Light on a Peugeot Boxer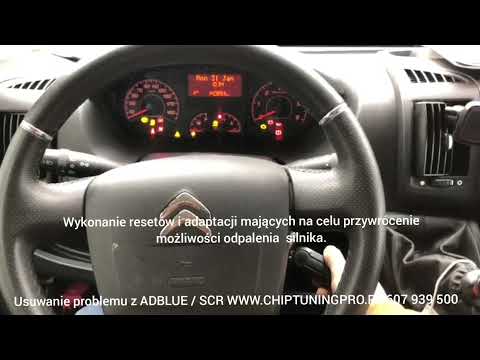
To reset the AdBlue system on a 2018 Peugeot Boxer, follow these steps: Start the engine and ensure the vehicle is parked in a well-ventilated area. Locate the "MENU" button on the dashboard or steering wheel controls. Press and hold the "MENU" button until the menu options appear on the display. Use the arrow buttons or scroll wheel to access the "Vehicle Settings" or "Settings" menu. Select the "AdBlue" or "AdBlue System" option. Look for the "Recharge" or "Reset" option in the AdBlue menu. Once you find the reset option, select it and confirm your choice when prompted. The system will be reset, and a confirmation message may appear on the display. Turn off the engine and wait a few seconds. Restart the engine and check that the AdBlue system has been reset. by ScegliAuto More videos
|
|
For advertising on this site Write to info@scegliauto.com
ScegliAuto is not responsible for any inaccuracy of the data in the lists. To report any inaccuracy or your business (if you own the business in question), please write to info@scegliauto.com
Number of seconds to generate the page: 0.062
(c) ScegliAuto 2026 - info@scegliauto.com - Privacy policy VAT number: IT01247470535 |
