
|
Do it yourself
| |||
| ||||


Replace the brake discs of our car
Model: Renault Scenic
MK 2, Scenic 2
- Years 2003-2009 This guide provides step-by-step directions for replacing brake discs. Both the braking system and the vehicle discs are of primary importance to ensure that the vehicle itself is as efficient as possible, for the benefit of the safety of both the driver and passengers. This procedure can also be carried out independently and without having to resort to a mechanic, but it is absolutely necessary to have a good dose of manual skills. First of all, you will need to turn the steering wheel on your side, so that the disc caliper is facing you. Jack up the car and remove the rim after removing the wheel bolts. Take a hex wrench and unscrew all the bolts that hold the caliper firmly to the frame on the rear side. Then put the car on a flat surface and engage the gear to lock the front wheels. Later, it will be possible to remove what is the brake caliper. At this point, only the caliper bracket will remain with the brake pads inside. Remove the latter using a suitable flat screwdriver, paying particular attention not to damage the discs. Then unscrew the bolts that hold the bracket firmly to the hub. Set them aside, as they will be useful for the reassembly phase. At this point, only the brake disc will remain and will need to be replaced.
Posted on 16 September 2023 by ScegliAuto
 How does the EPB parking brake work in the Renault Scenic II?
Renault Scenic (2003-2009 / MK 2, Scenic 2) This video serves to visually show the inside of the EPB (Electronic Parking Brake) unit as the handbrake is activated and deactivated. The video foc 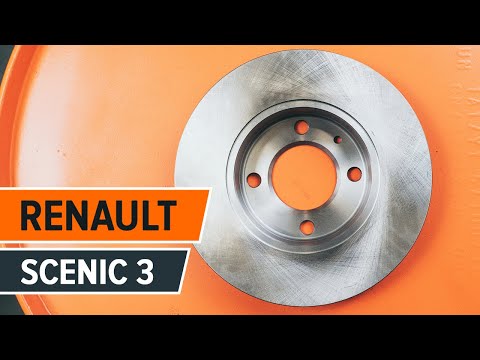 Replacement discs and rear pads
Renault Scenic (2009-2015 / MK III, Scenic III, MK 3, Scenic 3) To replace the rear brake discs, lift the car and remove the rear wheel; then remove the calliper fixing pins and hang it with a cable or clamp on th  Replacement of brake pads and discs
Renault Scenic (1996-2003 / ) Find the original spare discs then remove the wheel and then remove the caliper by moving it away. Remove the calliper support bracket using a spanne Other guides that may interest you
|
How do you reset the tire pressure light on the Toyota Aygo X?
To reset the tire pressure warning light on the Toyota Aygo X, you need to inflate the tires until they reach the recommended pressure value: this will be indicated on the sticker attached to the driver's side door pillar. Once the tires are inflated, you can go inside the cabin and turn on the instrument panel: after it has been turned on, you can open the glove box on the passenger side and locate the SET button that must be held down to turn off the warning light. by ScegliAuto More videos
|
|
For advertising on this site Write to info@scegliauto.com
ScegliAuto is not responsible for any inaccuracy of the data in the lists. To report any inaccuracy or your business (if you own the business in question), please write to info@scegliauto.com
Number of seconds to generate the page: 0.107
(c) ScegliAuto 2025 - info@scegliauto.com - Privacy Policy VAT number: IT01247470535 |