
|
Do it yourself
| |||
| ||||


How to replace the rear license plate bulb on Seat Altea XL
Model: Seat Altea
MK 1
- Years 2004-2015
In this video we can see how easily it is possible to replace the license plate light bulb on the Seat Altea XL. First of all you need to prepare all the material needed to do a correct job (a flat-tipped screwdriver, a screwdriver, a new bulb similar to the original one). At this point we go to the rear of the vehicle, where the luggage rack is located. We take the screwdriver, make ourselves comfortable to work at the height of the vehicle license plate (the lights are just above the license plate), unscrew the protective cover of the license plate light, remove the non-working bulb, mount the working one. We proceed to carry out all the steps backwards to reassemble all the parts. We turn on the vehicle to test the operation of the license plate lights.
Posted on 11 November 2021 by ScegliAuto
Video tutorial
Related tutorials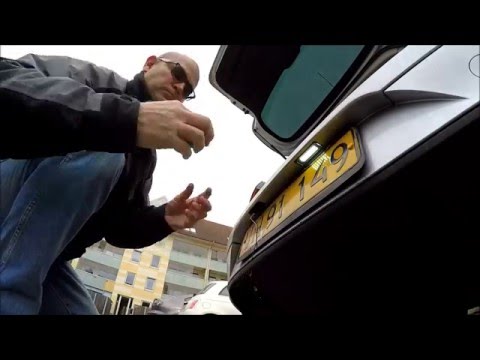
Seat Altea
(2004-2015 /
MK 1)
Replacing the number plate light on a Seat Altea. Learn how to replace the damaged bulb. Open the boot lid, and using a screwdriver or plastic lever,…

Seat Altea
(2004-2015 /
MK 1)
In the following article, we will see how to replace the headlight bulb of the Seat Altea. For this operation, no tools are needed. To replace the bu…

Seat Altea
(2004-2015 /
MK 1)
Today's steps will show us how to disassemble and replace the headlight bulb of the Seat Altea, following the instructions below. First, we open the …
Other guides you may be interested in
|
How to Remove the Door Panel from a Renault Modus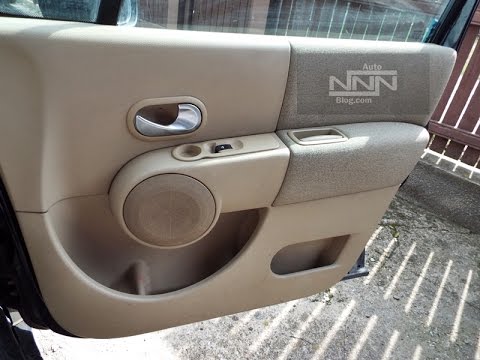
How to remove the door panel from a Renault Modus? Follow this video to see how to proceed. Before starting the disassembly, disconnect the battery terminals located in the engine bay. Begin disassembly: remove the satin screw covers located on the door opening lever, use a screwdriver to unscrew the screw, and unscrew the screws located in the handle. Once removed, also unscrew the one around the door panel. Detach the door panel, disconnect the window regulator and speaker connectors. Do not lose any of the clips located behind the plastic panel that was removed first. Now that the door panel is removed, peel off the adhesive covering from the metal and work on the pieces to be removed. Finally, reassemble everything in reverse order. by ScegliAuto More videos
|

|
For advertising on this site Write to info@scegliauto.com
ScegliAuto is not responsible for any inaccuracy of the data in the lists. To report any inaccuracy or your business (if you own the business in question), please write to info@scegliauto.com
Number of seconds to generate the page: 0.062
(c) ScegliAuto 2026 - info@scegliauto.com - Privacy policy VAT number: IT01247470535 |