
|
Do it yourself
| |||
| ||||


Complete Cylinder Head Overhaul
Model: Seat Ibiza
6K
- Years:
1993, 1994, 1995, 1996, 1997, 1998, 1999, 2000, 2001, 2002
Video tutorial
After having the cylinder head skimmed, check the flatness of the surface using a straight edge and a feeler gauge for valves; apply the new exhaust manifold gasket and install it, tightening the respective fixing nuts with a torque wrench; repeat the same operation with the intake manifold; apply the new O-ring to the side connection of the cooling attachment; also check the flatness on the cylinder block and check the relative position of the pistons (both in the exhaust and intake phases) with a digital height gauge. Re-thread the fixing holes of the cylinder head (without letting any debris fall into the cylinders), apply the new cylinder head gasket and secure it following the attached pattern using a set of new bolts. Finally, insert the new valve lifters after lubricating them, then the camshaft and its oil seal. Complete with the assembly of the timing belt, the rocker cover, and the injectors, to which the new gaskets should be applied.
Updated on 12 February 2026 by ScegliAuto
Related tutorials
Seat Ibiza
(2008-2017 /
6J, 6P)
When the service light illuminates on the multifunction display of the 2014 Seat Ibiza, it indicates that a full service is required. After completin…

Seat Ibiza
(1993-2002 /
6K)
When replacing the cylinder head gasket, it is good practice to also replace the corresponding fixing pins; however, before installation, re-thread t…
Seat Ibiza
(2002-2009 /
6L)
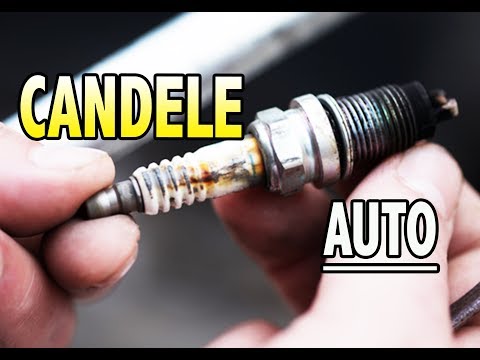
Want to remove the spark plugs from your Seat Ibiza and don't know how? This video details how to proceed. Pull the bonnet release lever located to t…
Other guides you may be interested in
|
How to Reset the Tire Pressure Light on a MG ZS?
On the instrument cluster of the MG ZS, the tire pressure light that appears can be reset by inflating the tires to the correct pressure: this value will be indicated on the sticker attached to the driver's door pillar. Once the tires have been properly inflated, you can turn on the instrument cluster and navigate through the menu until you find the option that indicates tire pressure: if this screen shows the new values, the light will turn off; otherwise, you will need to drive for a few miles so that the sensors can read the new values and turn off the light afterward. by ScegliAuto More videos
|
|
For advertising on this site Write to info@scegliauto.com
ScegliAuto is not responsible for any inaccuracy of the data in the lists. To report any inaccuracy or your business (if you own the business in question), please write to info@scegliauto.com
Number of seconds to generate the page: 0.039
(c) ScegliAuto 2026 - info@scegliauto.com - Privacy policy VAT number: IT01247470535 |
