
|
Do it yourself
| |||
| ||||


|
Video tutorial
Before installing the new exhaust manifold gasket, it is essential to thoroughly clean the gasket seating on both the cylinder head and manifold sides. Any dirt or deposits could compromise the gasket's seal, causing leaks and noise. Once cleaning is complete, position the gasket (made of metal) aligning it with the dowel pins, then fit the exhaust manifold, tightening the respective nuts with a torque wrench while following a cross-tightening pattern.
Updated on 13 February 2026 by ScegliAuto
Related tutorials
Seat Leon
(1999-2005 /
1M)
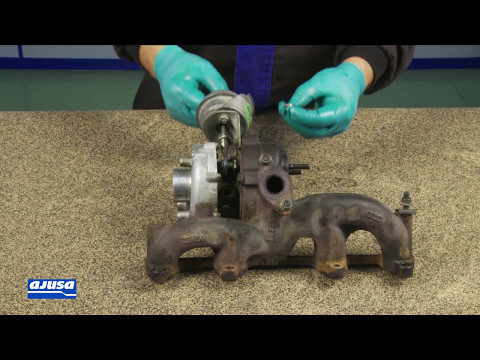
This video shows how to install the components that secure the turbo on a Seat Leon. After obtaining the kit, open it carefully and extract the vario…
Seat Leon
(1999-2005 /
1M)
After machining the cylinder head, use a straight edge and a feeler gauge to check the flatness of the surface; then proceed with the replacement of …

Seat Leon
(2005-2013 /
1P)
Today, we will go through the instructions to remove and replace the EGR valve on a Seat Leon 1.9 TDI. First, raise the vehicle and begin by removing…
Other guides you may be interested in
|
How to Reset the Tyre Pressure Warning Light on the Jeep Renegade?
To reset the tyre pressure warning light on the Jeep Renegade, inflate the tyres until they reach the recommended pressure: this value is indicated on the sticker attached to the driver’s door pillar. Once the tyres are properly inflated, navigate through the menu that appears on the instrument cluster until you find the tyre pressure option. At this point, press and hold the OK button on the right side of the steering wheel to make the warning light disappear. by ScegliAuto More videos
|
|
For advertising on this site Write to info@scegliauto.com
ScegliAuto is not responsible for any inaccuracy of the data in the lists. To report any inaccuracy or your business (if you own the business in question), please write to info@scegliauto.com
Number of seconds to generate the page: 0.070
(c) ScegliAuto 2026 - info@scegliauto.com - Privacy policy VAT number: IT01247470535 |
