
|
Do it yourself
| |||
| ||||


Seat Leon - EngineEngine Seat Leon (1999-2005 / 1 m)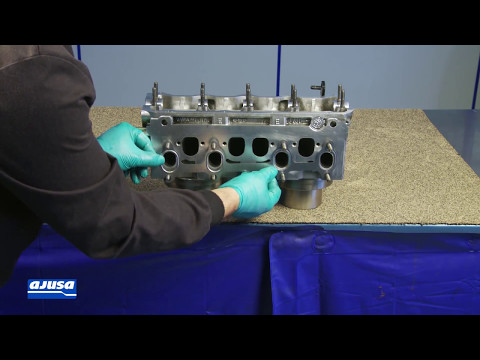 Seat Leon (1999-2005 / 1M)
Replacement of Exhaust Manifold Gasket Before installing the new exhaust manifold gasket, it is essential to thoroughly clean the gasket seating on both the cylinder head and manifold sides. Any …Read all… Posted on 19 February 2026 by ScegliAuto 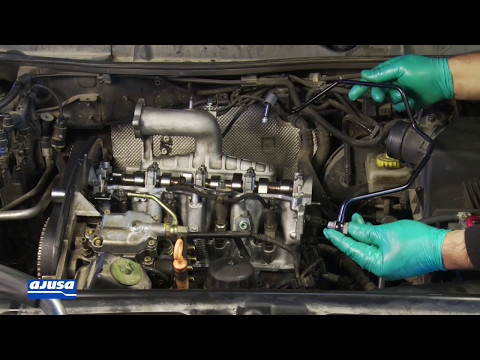 Seat Leon (1999-2005 / 1M)
Turbo Lubrication Pipe Replacement Turbo lubrication is absolutely essential due to the high RPM and constant contact with exhaust gases characterised by high temperature and acidity; this pipe, …Read all… Posted on 19 February 2026 by ScegliAuto 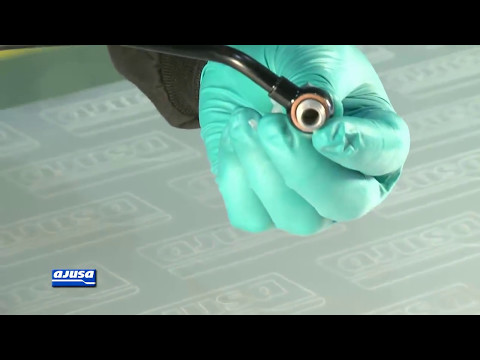 Seat Leon (1999-2005 / 1M)
Replacing the Turbo Lubrication Pipe Ensuring the lubrication of the turbo is absolutely essential due to the high RPM and constant exposure to the high temperature of exhaust gases; a shaped pipe …Read all… Posted on 18 February 2026 by ScegliAuto 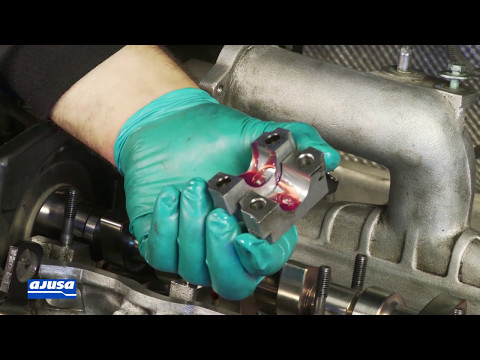 Seat Leon (1999-2005 / 1M)
Replacement of Lifters and Camshaft This video tutorial shows the installation of new lifters in the cylinder head of a Seat Leon. First, the kit of eight new lifters is displayed in its …Read all… Posted on 18 February 2026 by ScegliAuto 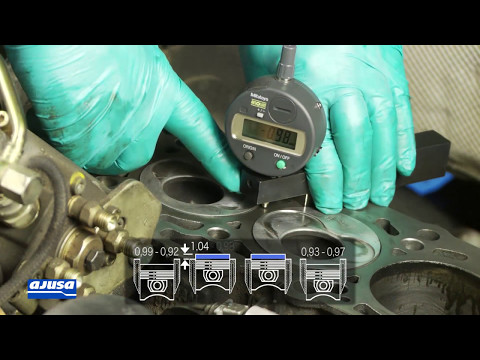 Seat Leon (1999-2005 / 1M)
Cylinder Head Gasket Replacement After having the cylinder head skimmed, check the flatness of the surface using a straight edge and a feeler gauge; repeat the same check on the cylinder …Read all… Posted on 18 February 2026 by ScegliAuto 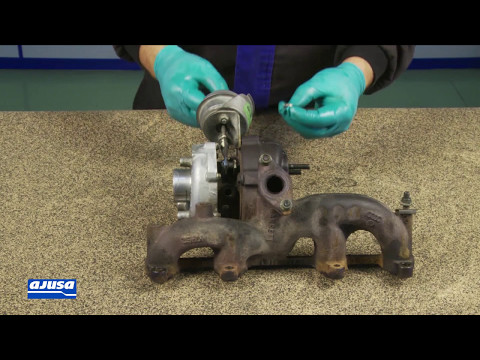 Seat Leon (1999-2005 / 1M)
Instructions for Complete Cylinder Head Overhaul After machining the cylinder head, use a straight edge and a feeler gauge to check the flatness of the surface; then proceed with the replacement of the valve …Read all… Posted on 18 February 2026 by ScegliAuto Airbag (4) Shocks (2) Car stereo (4) Battery (6) Air vents (1) Control arm (2) Spark plugs (3) Body (4) Glove compartment (3) Control unit (1) Key (37) Timing belt (13) V-belt (2) Air conditioner (10) A/C controls (1) Onboard computer (3) Checks and maintenance (25) Dashboard (5) Brake rotors (1) Headlight (9) Tail light (5) Fog lights (5) Air filter (5) Cabin air filter (9) Diesel fuel filter (3) Oil filter (2) Parking brake (2) Grille (1) Window switch (1) Accessory kit (1) Light bulb (4) Side marker bulb (1) Headlight bulb (9) Tail light bulb (7) Interior dome light bulb (4) License plate light (4) (2) Handle (3) Engine (6) Power window motor (1) Engine oil (3) Clock (10) Door trim panel (27) Front bumper (7) Rear bumper (4) Brake pads (1) Shift knob (2) Fuel pump (1) Car door (3) Power window switch (1) Instrument cluster (4) Heater core (2) Fuse box (68) Seat (4) Door lock (6) Side mirror (3) Warning light – error code (25) (29) Tire pressure warning light (4) Service warning light (156) Fuel cap (1) Windshield wipers (2) Thermostat (2) Turbocharger (1) EGR valve (4) Blower motor (2) Side window (3) |
How to Replace the Cabin Filter on the Opel Grandland X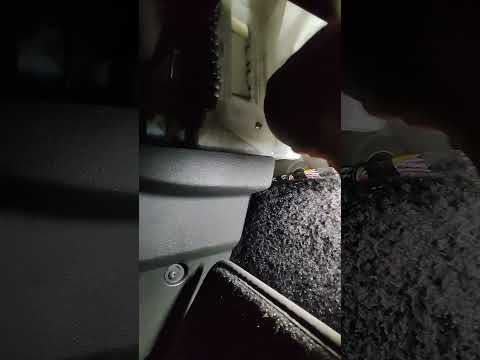
If you own an Opel Grandland X and want to know the steps to replace the cabin air filter, carefully read the following guide and follow the described steps. First, enter the vehicle and go to the passenger side. Then, locate the box containing the air filter in the lower side area of the dashboard. Remove the cover of the box and finally replace the old filter with the new one. Refit the cover, and you are done. by ScegliAuto More videos
|
|
For advertising on this site Write to info@scegliauto.com
ScegliAuto is not responsible for any inaccuracy of the data in the lists. To report any inaccuracy or your business (if you own the business in question), please write to info@scegliauto.com
Number of seconds to generate the page: 0.107
(c) ScegliAuto 2026 - info@scegliauto.com - Privacy policy VAT number: IT01247470535 |
