
|
Do it yourself
| |||
| ||||


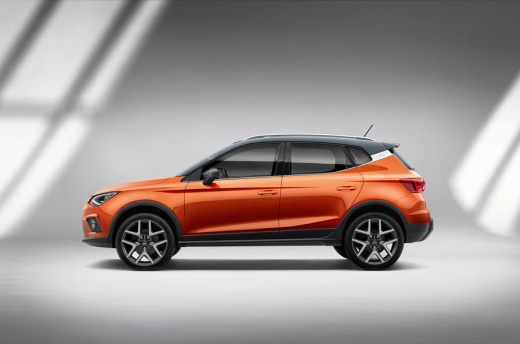
How to reset the tire pressure warning light on a Seat Arona?
Model: Seat Arona
MK 1
- Years 2017-2026
To reset the tire pressure warning light of a Seat Arona, start by accessing the onboard computer using the corresponding buttons on the central console. Once inside the onboard computer menu, look for and select the "Settings" option. Next, look for the section related to tire pressure or the Tire Pressure Monitoring System (TPMS). Once found, follow the indicated procedure to reset the warning light. Usually, this procedure involves confirming the current tire pressure or manually resetting it through the menu. Make sure to carefully follow the on-screen instructions and wait for confirmation that the reset has been successfully completed. Once the reset is completed, the tire pressure warning light should be reset and should no longer be displayed on the dashboard of your Seat Arona.
Posted on 28 April 2024 by ScegliAuto
Video tutorial
Related tutorials
Seat Arona
(2017-2026 /
MK 1)
The tire pressure sensor on the Seat Arona can be reset by inflating all the tires, bringing them to the pressure value indicated on the sticker atta…

Seat Arona
(2017-2026 /
MK 1)
In this tutorial, we can see how to reset the tire pressure warning light in the Seat Arona, an extremely simple and quick operation, to be done only…

Seat Arona
(2017-2026 /
MK 1)
If you want to manually reset the tire pressure warning light on the dashboard of your Seat Arona, all you have to do is follow the procedure describ…
Other guides you may be interested in
|
How to Open a Stuck Boot on the Peugeot 407?
On the Peugeot 407, the boot may become stuck, possibly due to a problem with the control button or the lock actuator. In such cases, you can perform an emergency opening by following the simple procedure shown in this tutorial. First, open the rear doors, then lower the seat back by operating the release lever. Next, go inside the boot, locate the lock, and manually operate it using a flathead screwdriver. The boot will then be free to open. by ScegliAuto More videos
|
|
For advertising on this site Write to info@scegliauto.com
ScegliAuto is not responsible for any inaccuracy of the data in the lists. To report any inaccuracy or your business (if you own the business in question), please write to info@scegliauto.com
Number of seconds to generate the page: 0.099
(c) ScegliAuto 2026 - info@scegliauto.com - Privacy policy VAT number: IT01247470535 |
