
|
Do it yourself
| |||
| ||||


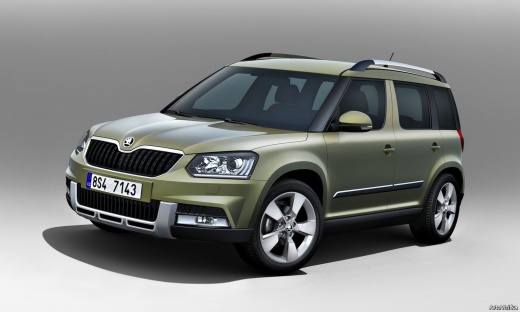
How to replace the daytime running lights and side lights bulbs of the Skoda Yeti.
Model: Skoda Yeti
MK 1
- Years:
2009, 2010, 2011, 2012, 2013, 2014, 2015, 2016, 2017
Video tutorial
Let's see how to replace the daytime running lights and side lights of the Skoda Yeti: to identify the problem, a warning light on the dashboard will illuminate. We open the hood and locate the affected headlight assembly. Behind the headlight, there is a plastic cover with the labels "open/close" and "top"; we unscrew the cover counterclockwise and remove it. The bulb is located at the bottom of the headlight, and because the operation is a bit awkward, a small hand or some patience is required. In any case, the bulb should be handled with gloves to avoid leaving fingerprints on the glass (the oil from your skin drastically reduces its lifespan). The bulb has a notch that corresponds to the socket, so it should be inserted in a specific position. Let's insert it and secure it, then check its functionality. Finally, reposition the cover and screw it back on clockwise to secure it.
Posted on 4 December 2025 by ScegliAuto
Related tutorials
Skoda Yeti
(2009-2017 /
MK 1)
In this tutorial, you will see how to reset the service on a Skoda Yeti, a very simple and quick operation to perform only after completing all sched…

Skoda Yeti
(2009-2017 /
MK 1)
Let's see the information that will allow us to disassemble and replace the headlight bulb of the Skoda Yeti. First, open the hood of the car and sta…

Skoda Yeti
(2009-2017 /
MK 1)
In this tutorial, you will see how to reset the service indicator on the Skoda Yeti, a very simple and quick operation to be performed only after com…
Other guides you may be interested in
|
How to Remove the Rear Seat of a Hyundai Tucson?
To remove the rear seat of a Hyundai Tucson, follow these steps. Start by moving the front seats to their most forward position to gain space. Next, locate the release lever on the underside of the rear seat, near the floor. Press this lever down while pulling the seat upwards to unlock it from the anchor pins. Once unlocked, tilt the seat upwards and forwards to remove it from its position. Repeat this process for both sides of the rear seat. Be careful of any electrical cables or components that may be connected to the seat during removal. Once the rear seat is removed, the disassembly is complete. by ScegliAuto More videos
|
|
For advertising on this site Write to info@scegliauto.com
ScegliAuto is not responsible for any inaccuracy of the data in the lists. To report any inaccuracy or your business (if you own the business in question), please write to info@scegliauto.com
Number of seconds to generate the page: 0.095
(c) ScegliAuto 2026 - info@scegliauto.com - Privacy policy VAT number: IT01247470535 |
