
|
Do it yourself
| |||
| ||||


How to change the cabin air filter of a Smart 450
Model: Smart Smart
450
- Years:
1998, 1999, 2000, 2001, 2002, 2003, 2004, 2005, 2006, 2007
Video tutorial
Unlike most cabin filters, which are changed from inside the car, the one in the Smart 450 is changed from the outside. In fact, we have to access it from the grille located at the base of the windshield, on the right side. Here we find a small screw in the grille that we have to remove, allowing us to remove the grille itself. Small hands are needed here, as the space is very tight. First, we have to move a tube located right in front of the compartment where the filter is, by releasing the two clips. Then we open the compartment by pulling it towards us and slide out the filter. Reinserting it will be equally challenging, and to clean the compartment, we definitely recommend a spray of compressed air.
Posted on 30 April 2025 by ScegliAuto
Related tutorials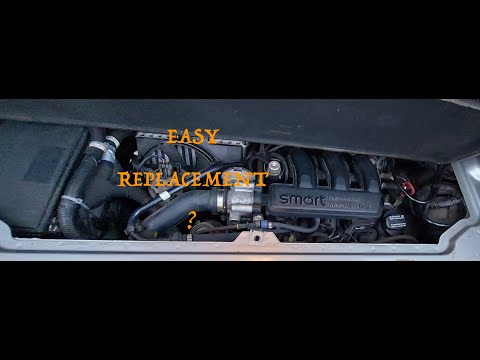
Smart
(1998-2007 /
450)
If you want to avoid overheating or loss of power in your Smart 450, you must periodically replace the air filter. Below, we will discover how to per…
Smart
(1998-2007 /
450)
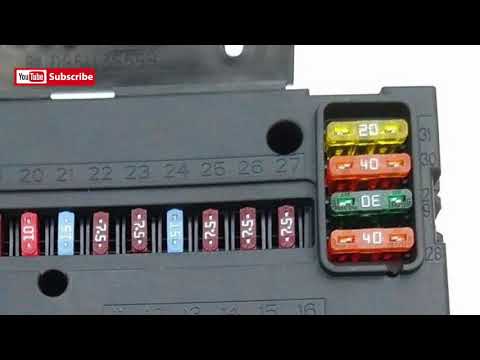
In this video, you can see where the fuse box is located on the Smart 450. The Smart 450 has two fuse boxes: one positioned on the driver's side (vis…
Smart
(1998-2007 /
450)
This guide shows how to change the transmission oil on the Smart 450. The first step is to lift the vehicle or the rear part, as the transmission is …
Other guides you may be interested in
|
How to Remove the Front Bumper of the Renault Trafic?
To remove the front bumper of the Renault Trafic, use a tool to pry off the grille at the top: once this grille is removed, you can loosen the screws at the bottom to detach the front headlights. These must now be extracted by disconnecting the underlying connectors: this will allow you to loosen the additional screws that secure the front bumper and remove it completely. At this point, you can insert the new replacement part and check that everything functions correctly. by ScegliAuto More videos
|
|
For advertising on this site Write to info@scegliauto.com
ScegliAuto is not responsible for any inaccuracy of the data in the lists. To report any inaccuracy or your business (if you own the business in question), please write to info@scegliauto.com
Number of seconds to generate the page: 0.106
(c) ScegliAuto 2026 - info@scegliauto.com - Privacy policy VAT number: IT01247470535 |
