
|
Do it yourself
| |||
| ||||


How to remove and seal the rear window of a Smart 450
Model: Smart Smart Various
To do this operation, we need to start by removing the seal from the inside: we can see that there is a small tab in the corner that we can remove using a screwdriver. Once this is removed, the seal frame comes off, pulling it gently towards us. After this, we can remove the entire rear window from the outside. The purpose is to apply sealant from the inside, as the window was letting water through. First, we need to clean the bodywork from the old sealant, then we can proceed to lay down the new one following the old one's trace. We place the window back on top and press it down so we can remove the excess sealant from the inside. Then we can put the seal back on from the inside, closing it with the tab.
Posted on 9 May 2025 by ScegliAuto
Video tutorial
Related tutorials
Smart Smart Various
The Vileda Turbo Smart is the new floor cleaning system featuring a pedal-operated spin function located inside the water collection bucket, designed…

Smart Smart Various
After changing the engine oil and filter of the Smart car, we reset the module that reminds us to make this replacement, with a reminder on the instr…
Smart Smart Various
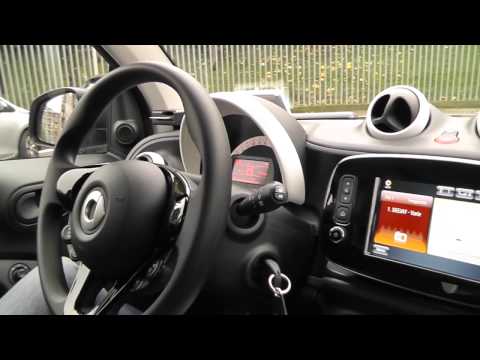
In today's video, you will see how the infotainment system of the third generation Smart Fortwo works, which is the current model. It functions the s…
Other guides you may be interested in
|
How to Replace the Remote Battery for the Volvo XC40?
In this tutorial, you will see how to replace the battery in the remote for the Volvo XC40, a very simple and quick operation. For this, you will need a replacement battery of type CR2032 and possibly a small flathead screwdriver. First, remove the front cover by pressing the button on the metal ring, then locate the second button, press it as well, and remove the opposite cover. Next, open the circular cap, take out the old battery, and insert the new one in the opposite direction. Finally, reassemble everything. by ScegliAuto More videos
|
|
For advertising on this site Write to info@scegliauto.com
ScegliAuto is not responsible for any inaccuracy of the data in the lists. To report any inaccuracy or your business (if you own the business in question), please write to info@scegliauto.com
Number of seconds to generate the page: 0.233
(c) ScegliAuto 2026 - info@scegliauto.com - Privacy policy VAT number: IT01247470535 |
