
|
Do it yourself
| |||
| ||||


Removing the Door Panels of Smart 450
Model: Smart Smart
450
- Years 1998-2007
Remove two screws with a T20 screwdriver located near the mirror. Unlock the mirror from the inside; no tools are needed, just pull it (lower the window fully). Separate the knob from the mirror using a flat screwdriver by simply inserting it and turning it 90 degrees. Remove the seal using a T20 key to remove two screws, then pull the seal upwards. Remove the mirror using a T2 (three screws to unscrew) and take it out. Unscrew the door handle using a T20 (two screws to remove). If you are removing the driver’s side door panel, you will also need to disassemble the locking mechanism using a T10 key. There are some clips holding the door panel in place, but they can be released manually. Manually unclip the panel and pull it upwards.
Updated on 22 March 2026 by ScegliAuto
Video tutorial
Related tutorials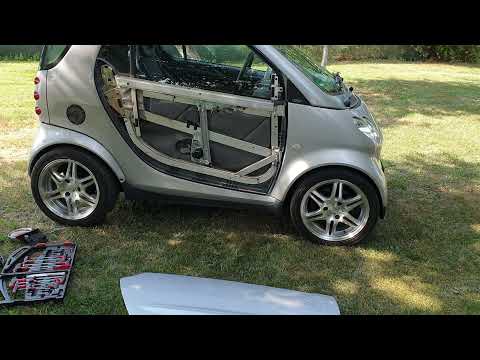
Smart
(1998-2007 /
450)
To remove the outer door panel of the Smart 450, open the door and detach the side cover near the handle to unscrew the underlying screw. Once this s…
Smart
(1998-2007 /
450)
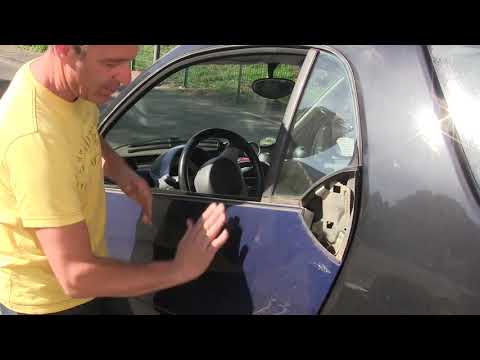
To remove the outer door panel of the Smart 450, leverage the area around the external handle so that it can be completely removed, disconnecting the…

Smart
(1998-2007 /
450)
You can remove the door panel of the Smart 450 by unscrewing the screws that secure it to its housing: these screws will be located in the central lo…
Other guides you may be interested in
|
How to Replace the Remote Battery for the Volvo XC40?
In this tutorial, you will see how to replace the battery in the remote for the Volvo XC40, a very simple and quick operation. For this, you will need a replacement battery of type CR2032 and possibly a small flathead screwdriver. First, remove the front cover by pressing the button on the metal ring, then locate the second button, press it as well, and remove the opposite cover. Next, open the circular cap, take out the old battery, and insert the new one in the opposite direction. Finally, reassemble everything. by ScegliAuto More videos
|
|
For advertising on this site Write to info@scegliauto.com
ScegliAuto is not responsible for any inaccuracy of the data in the lists. To report any inaccuracy or your business (if you own the business in question), please write to info@scegliauto.com
Number of seconds to generate the page: 0.194
(c) ScegliAuto 2026 - info@scegliauto.com - Privacy policy VAT number: IT01247470535 |
